


WinSCP is a free SFTP client for Windows with a dual-pane file browser that makes it easy to drag and drop files between your PC and your WinterNode game server. Use it when you need to transfer files larger than 100MB or manage many files at once.
SFTP Credentials
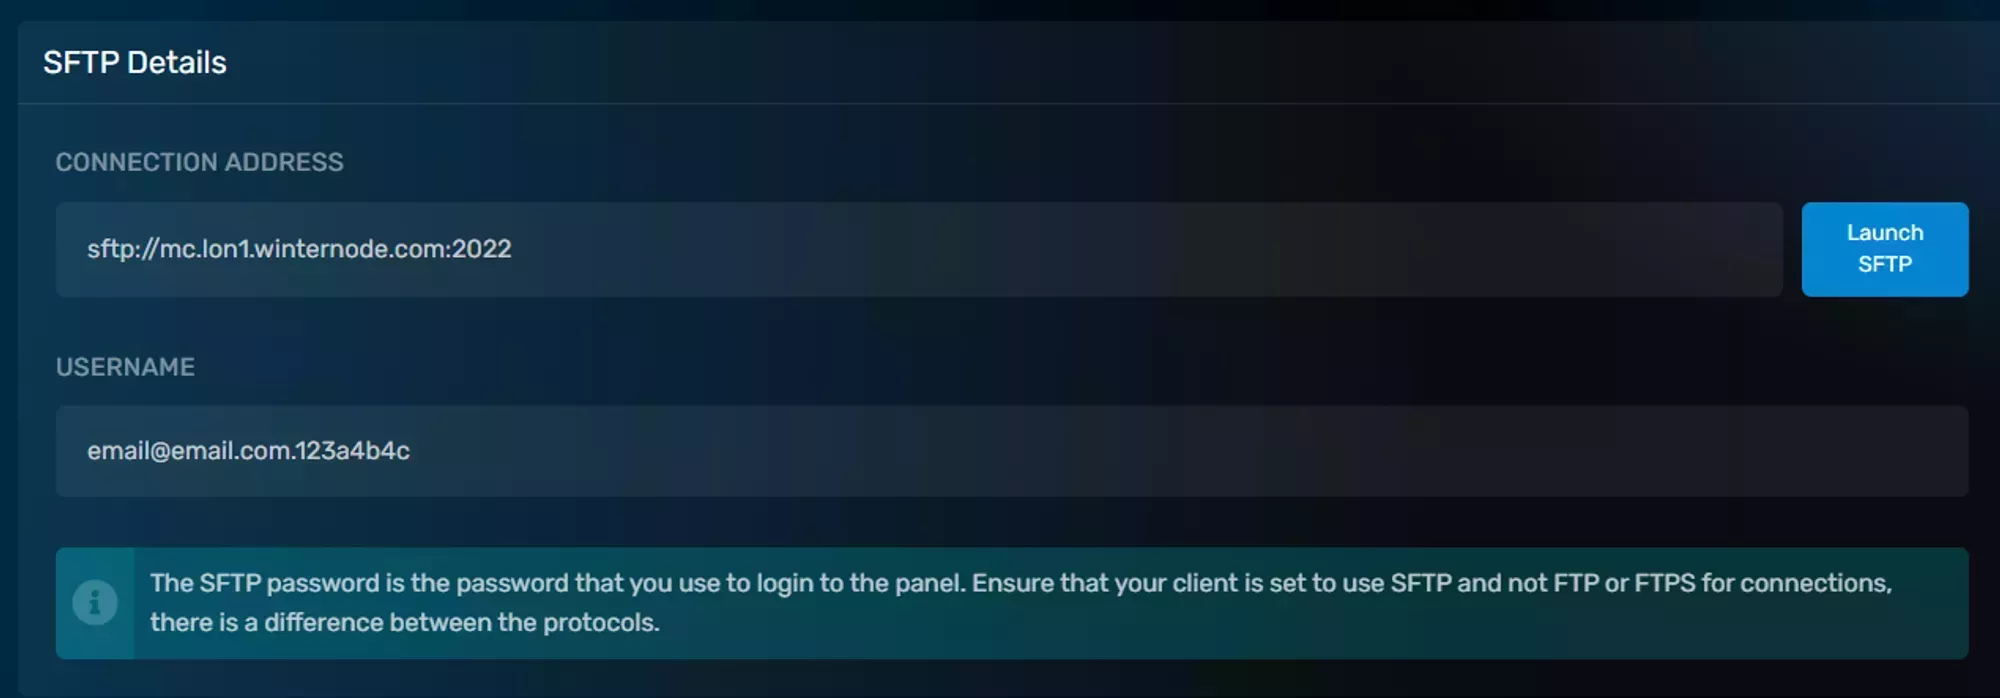
Regardless of the connection method you use, you’ll need the SFTP credentials provided by the GCP. Each of your servers has a unique set of credentials: the connection address is specific to your server’s node, the username is generated from your email and server UUID, and your password is the same one you use to log into the panel.
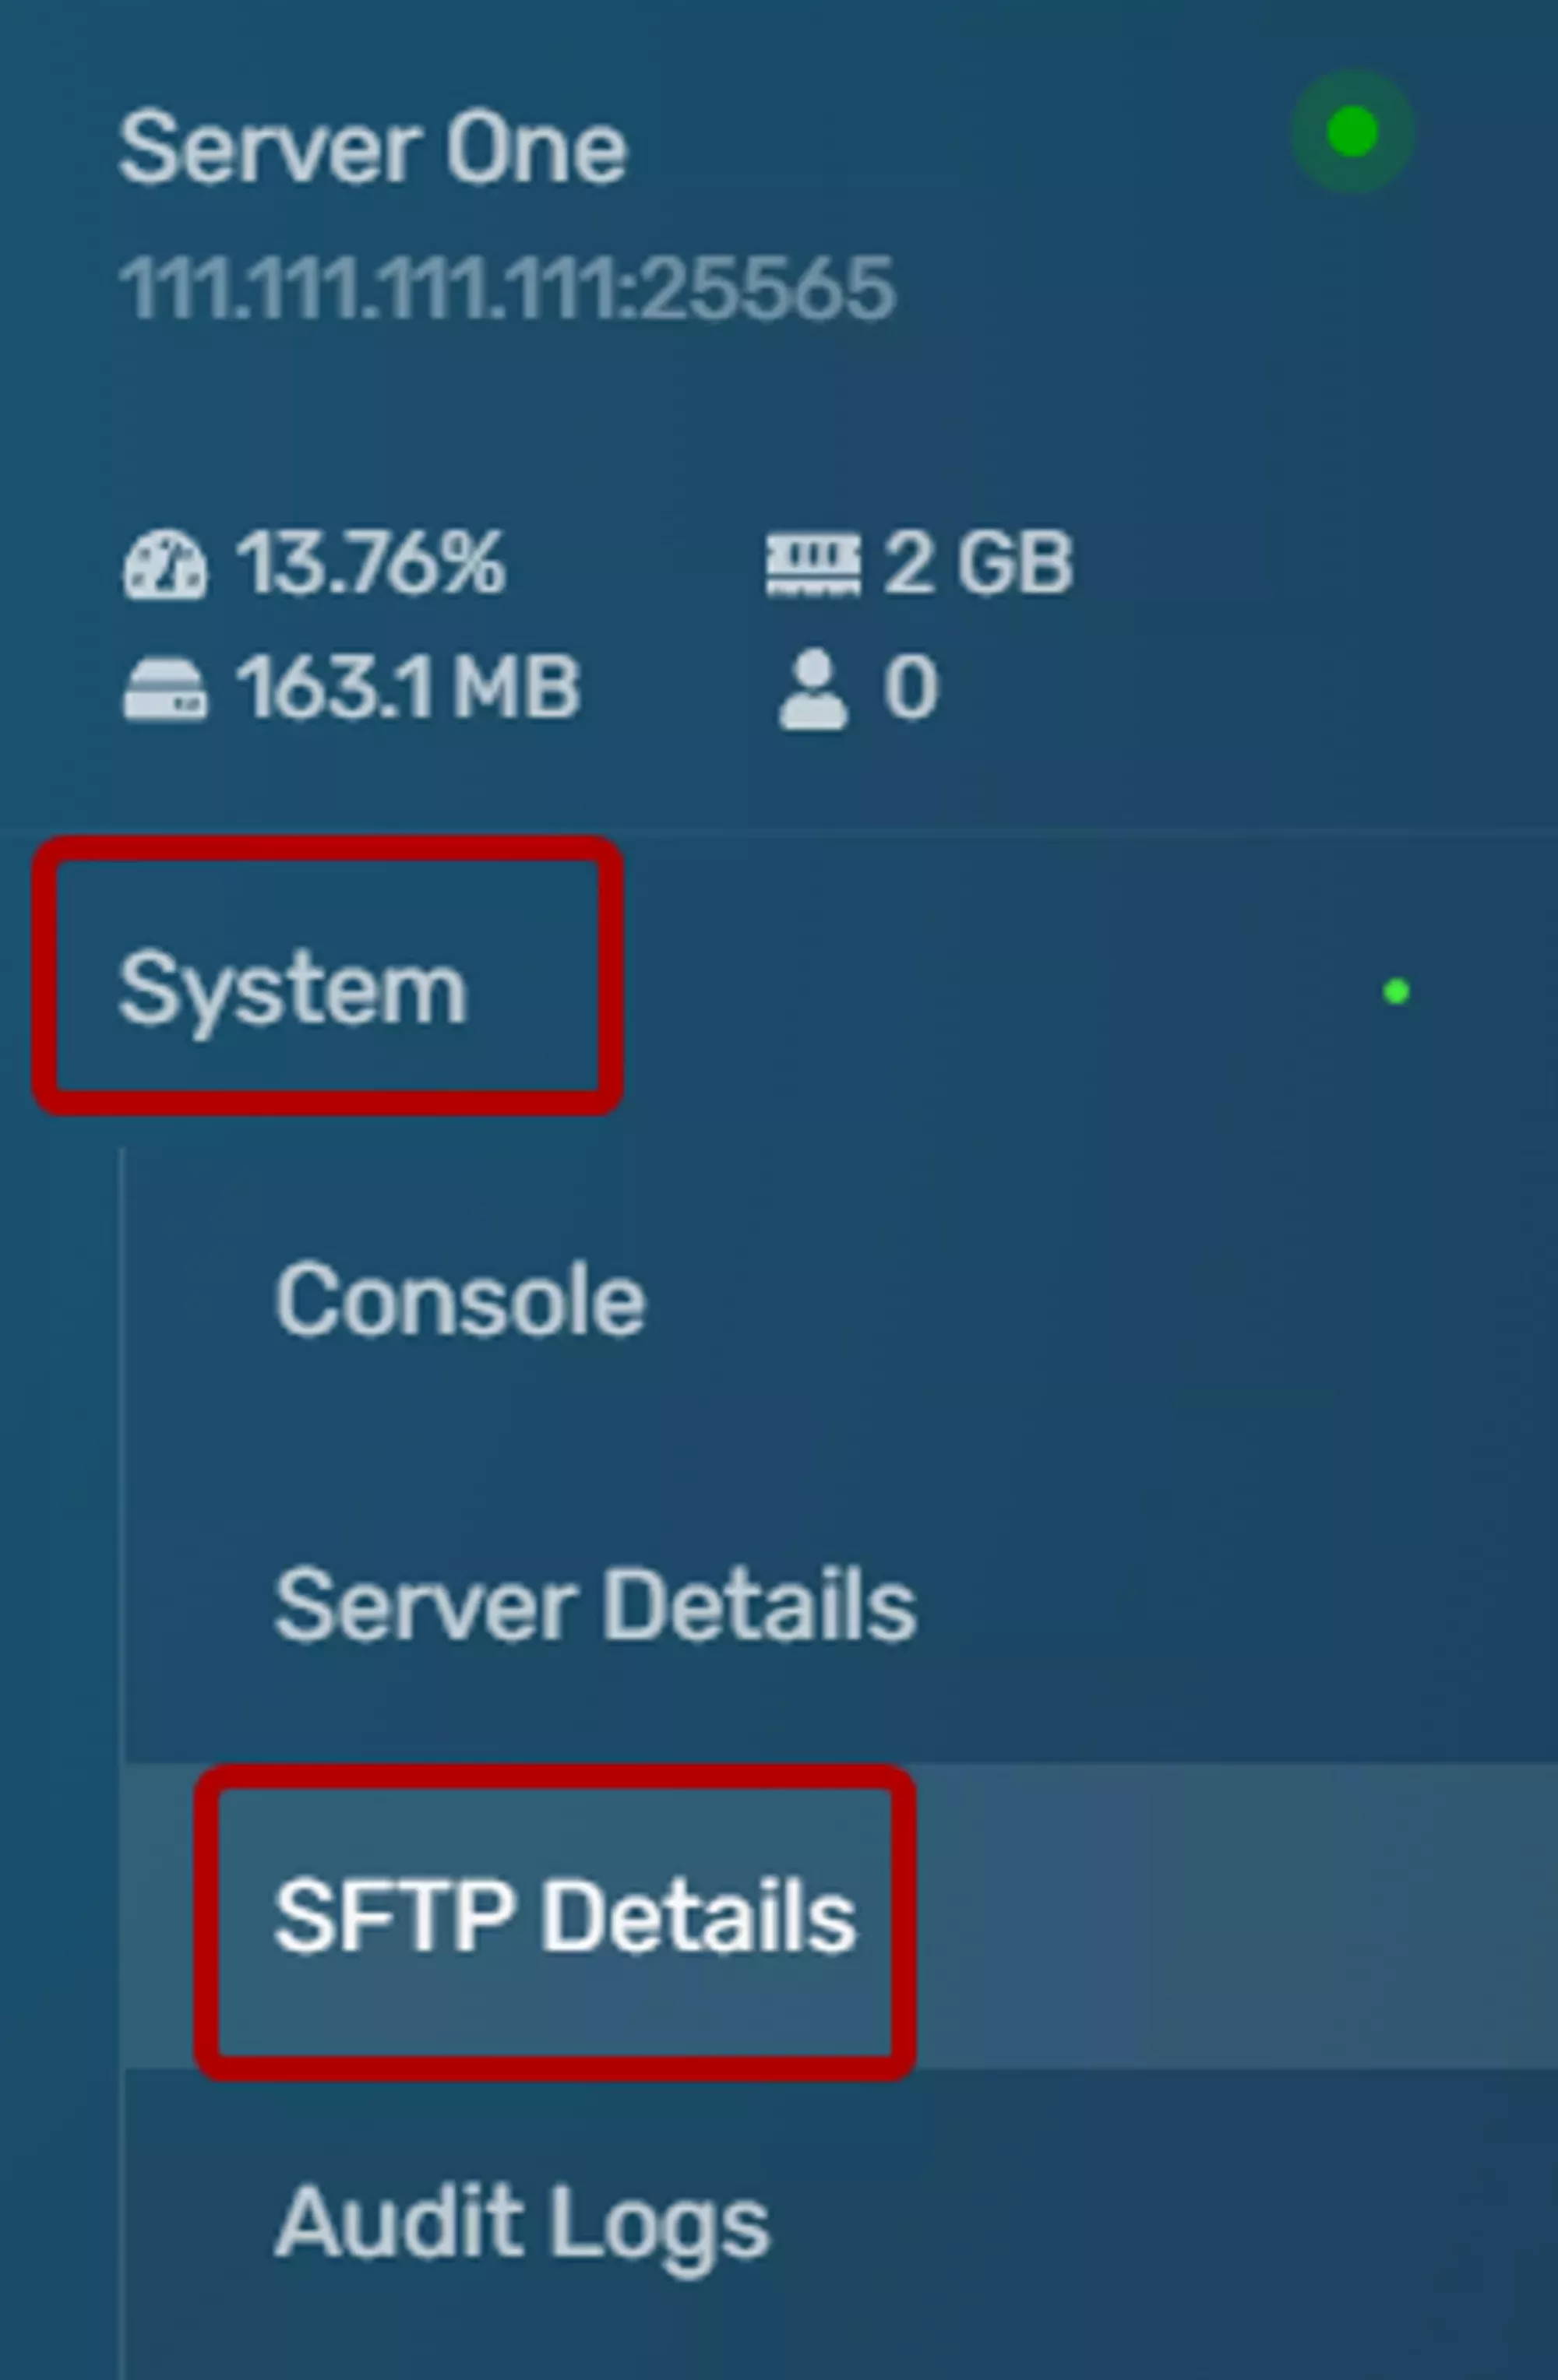
You can find your server’s SFTP Credentials under the System → SFTP Details tab.
Downloading WinSCP
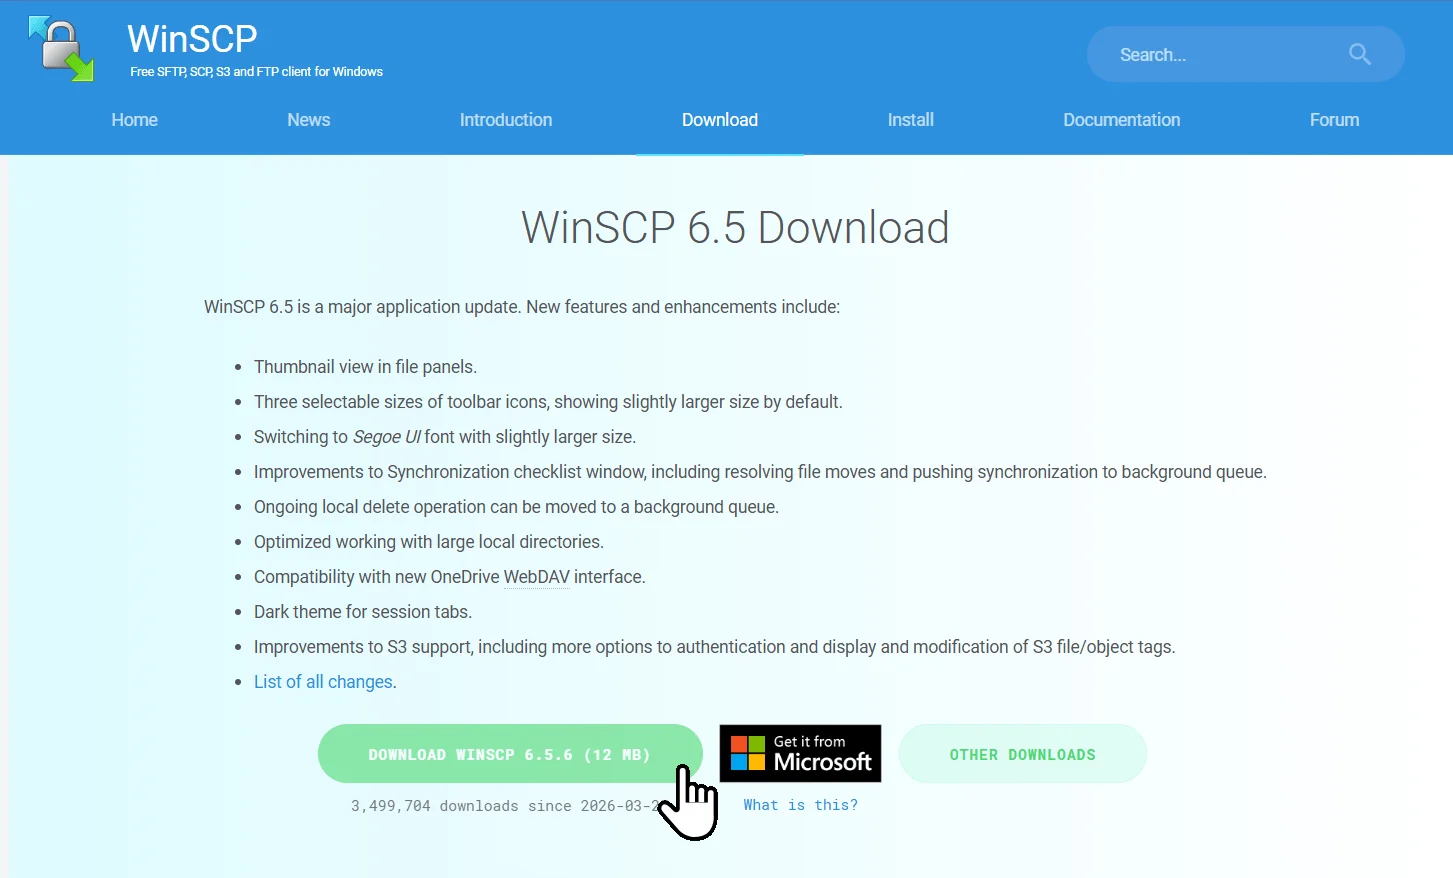
- Go to the WinSCP download page
- Click the Download WinSCP button for the latest stable release
- Run the installer and follow the prompts
- On the Setup type screen, choose Typical installation unless you know you need something else
- On the User interface style screen, choose Commander (recommended for dual-pane drag and drop)
Connecting to Your Server
- Open WinSCP. The Login window appears on first launch
- Set File protocol to SFTP
- Copy the part of your Connection Address before the colon and paste it into Host name
- Copy the number after the colon in your Connection Address and paste it into Port number
- Copy the Username field from the panel and paste it into User name
- Enter your Game Control Panel password in the Password field
- Click Login

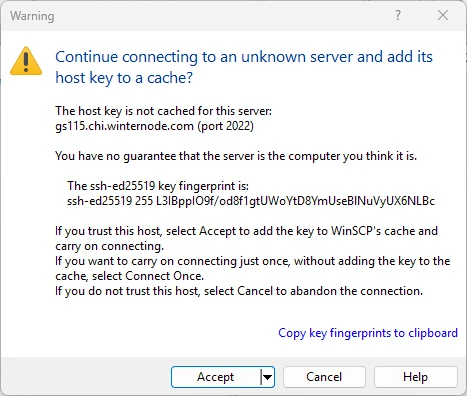
The first time you connect, WinSCP displays a Warning: Continue connecting to an unknown server dialog with the server’s host key fingerprint. Click Accept to trust the server and add the key to WinSCP’s cache. You won’t see this prompt again for the same server.
Uploading and Downloading Files
Once connected, WinSCP shows your local files on the left and your server files on the right. You can drag and drop between the two panes to transfer files in either direction.

- Navigate to the folder you want to transfer from on one side
- Navigate to the destination folder on the other side
- Drag the file or folder from one pane to the other
- Confirm the transfer in the Copy dialog that appears
- Wait for the progress bar to finish. Transfers appear at the bottom of the window
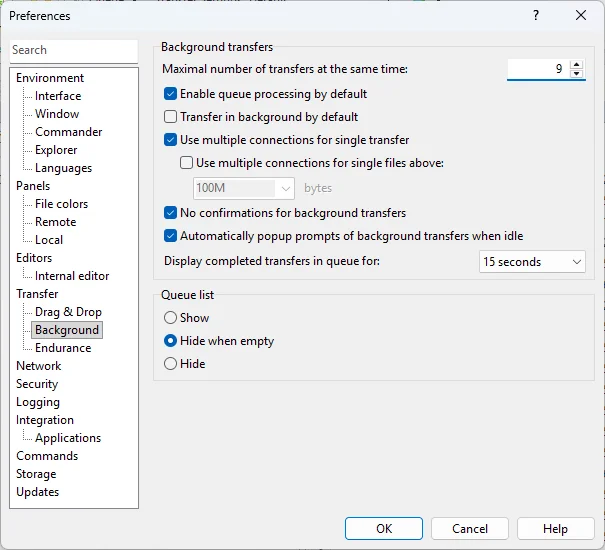
Speeding Up Transfers of Many Small Files
If you’re transferring a folder with lots of small files and your bandwidth isn’t being fully utilised, increase the number of simultaneous transfers:Increase concurrent transfers
Troubleshooting
WinSCP: Authentication Failed
The Authentication failed error means WinSCP reached your server but was rejected during login. This is almost always a password problem.
- Confirm you are entering your Game Control Panel password. This is the same password you use to log in to the panel website. There is no separate SFTP password
- If you recently changed your panel password, update the stored password in your WinSCP saved site
- Check that the User name matches the Username shown under System → SFTP Details in the panel, including the hyphen and numeric suffix
- If you have forgotten your password, reset it from the panel login page
WinSCP: Network Error - Connection Refused or Timed Out
These errors mean WinSCP could not reach the SFTP service at all.
- Wrong host or port. Go to System → SFTP Details in the Game Panel. Copy the part of the Connection Address before the colon into Host name, and the number after the colon into Port number. Do not paste the full
host:portstring into Host name - Wrong protocol. Make sure File protocol is set to SFTP. FTP and SCP will not connect
- Firewall or VPN. Temporarily disable any VPN or third-party firewall software and try again. Some VPNs block non-standard SFTP ports
- Network issue. If you can reach the Game Panel website but not SFTP, your ISP or local network may be blocking the connection. Try from a different network (such as a mobile hotspot) to confirm
WinSCP: Host Key Was Not Verified
If you see Host key was not verified after clicking Cancel on the fingerprint prompt, WinSCP has refused the connection for safety.
- Reconnect to your server
- When the Warning: Continue connecting to an unknown server dialog appears, review the fingerprint
- Click Accept to trust the key and add it to WinSCP’s cache
If the fingerprint changed unexpectedly after a node migration or server move, this is usually expected. Click Update to accept the new key. If you did not expect a change, open a ticket with support before proceeding.
Still Not Working?
If none of the above resolves your issue, contact our support team with:
- The exact error message from WinSCP (screenshot is ideal)
- What you’ve already tried
Frequently Asked Questions
Your WinSCP password is the same as your Game Control Panel login password. There is no separate SFTP password.
Select SFTP as the File protocol. FTP and SCP are not supported on WinterNode game servers.
This means WinSCP reached your server but was rejected during login. Make sure you are using your Game Control Panel password. If you recently reset it, update the saved credentials in WinSCP as well.
Yes. The first time you connect to your server, WinSCP will show a host key fingerprint and ask you to trust it. Click Accept to add it to WinSCP's cache and continue.