


 Minecraft
 Pick the Java version your Minecraft version needs. The wrong one stops your server from starting, or breaks plugins and mods.
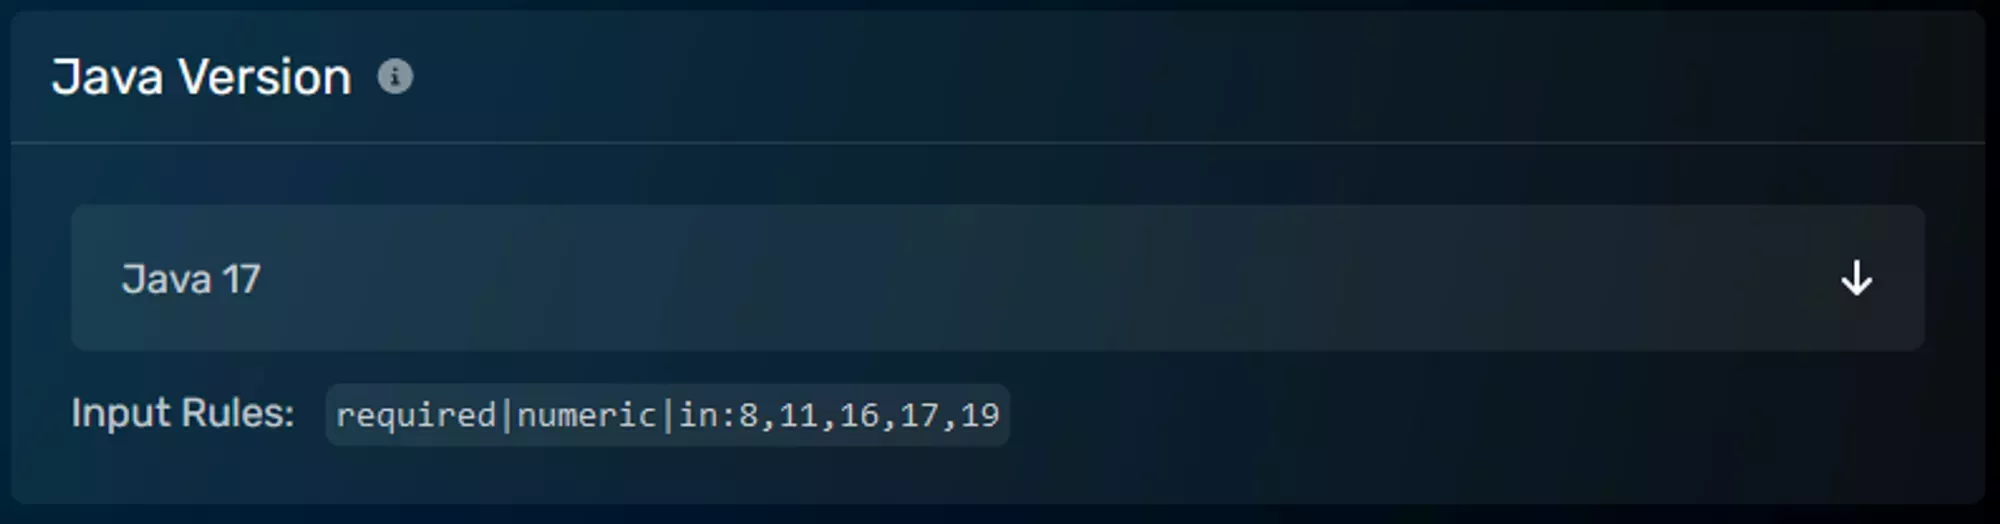
Change your Java version
- In the Game Control Panel, open Server Options.
- Set the Java Version dropdown using the table below.
- Restart your server.
Which version do I need?
| Minecraft version | Java |
|---|---|
| 1.8 to 1.11 | 8 |
| 1.12 to 1.16.5 | 11 |
| 1.17 to 1.17.1 | 16 |
| 1.18 to 1.20.4 | 17 |
| 1.20.5 to 1.21.11 | 21 |
| 26.1 and newer | 25 |
Minecraft switched from the 1.X.Y numbering to a year.drop format at 26.1. The last version on the old format was 1.21.11.
Troubleshooting
Server won’t start: the Java version is probably too old for your Minecraft version. Match it to the table, then restart (not stop/start).
“Unsupported class file major version”: a plugin or mod needs newer Java than your server runs. Raise your Java version. The number in the error maps to Java (61 is Java 17, 65 is Java 21, 69 is Java 25).
Modded servers: Forge and Fabric can have their own Java requirements. Use the newest Java your loader supports; there is no downside when it is compatible.