


Recover lost or corrupted server files by restoring from your own backup archive or requesting a restoration from WinterNode’s automatic 12-hour backups.
We take two daily backups of every server that is hosted with us to protect against data loss and hardware failure. However, due to the quantity of backups we take and the security required for storing backups of user data, it can take up to 24 hours for a backup to be restored when submitted through a backup ticket. So we highly recommend using another backup method in addition to our 12-hour backups for when you need to perform a quick restore.
Restoring from a Personal Backup
Whatever backup method you use for your personal backups, you should store them as an archive file such as a .zip or .tar file type. That file will contain whatever files have been backed up from your server and is what we’ll be using.
Getting the Files you need
- Download your backup archive to your computer.
- Decompress it locally to review its contents and identify only the files and folders you need to restore.
- Re-compress just the files you need into a new archive ready for uploading.
This may take some trial and error. That’s one of the many reasons to back up your live server before restoring.
Uploading your Files
- Take a backup of your current live files before making any changes, even if the data is already broken.
- Upload your compressed archive to your server:
- Over 100 MB: Use SFTP (preferred for large files)
- Under 100 MB: Use the File Manager upload button
- Decompress the archive using the File Manager.
- Start your server and verify everything works as expected.
Restoring from a WinterNode Backup
We take internal 12-hour backups between 2AM-3AM and 2PM-3PM CST without Client Intervention, to our company-owned server. This automated system runs outside the “Backups” system displayed in our panel. The “Backups” tab in Game Control Panel is not active, as our backup system has been built independently of it.
To request a restoration from our 12-hour backups, please open a Support ticket with us on Discord or fill out the below template and open a ticket on the Client Panel. This will then be forwarded to our Backup Manager. We aim to complete the restoration process within less than 24 hours, however, this is not always possible. Customers who desire faster access to and/or more control over their backups are encouraged to take their own external backups, see the relevant articles below.
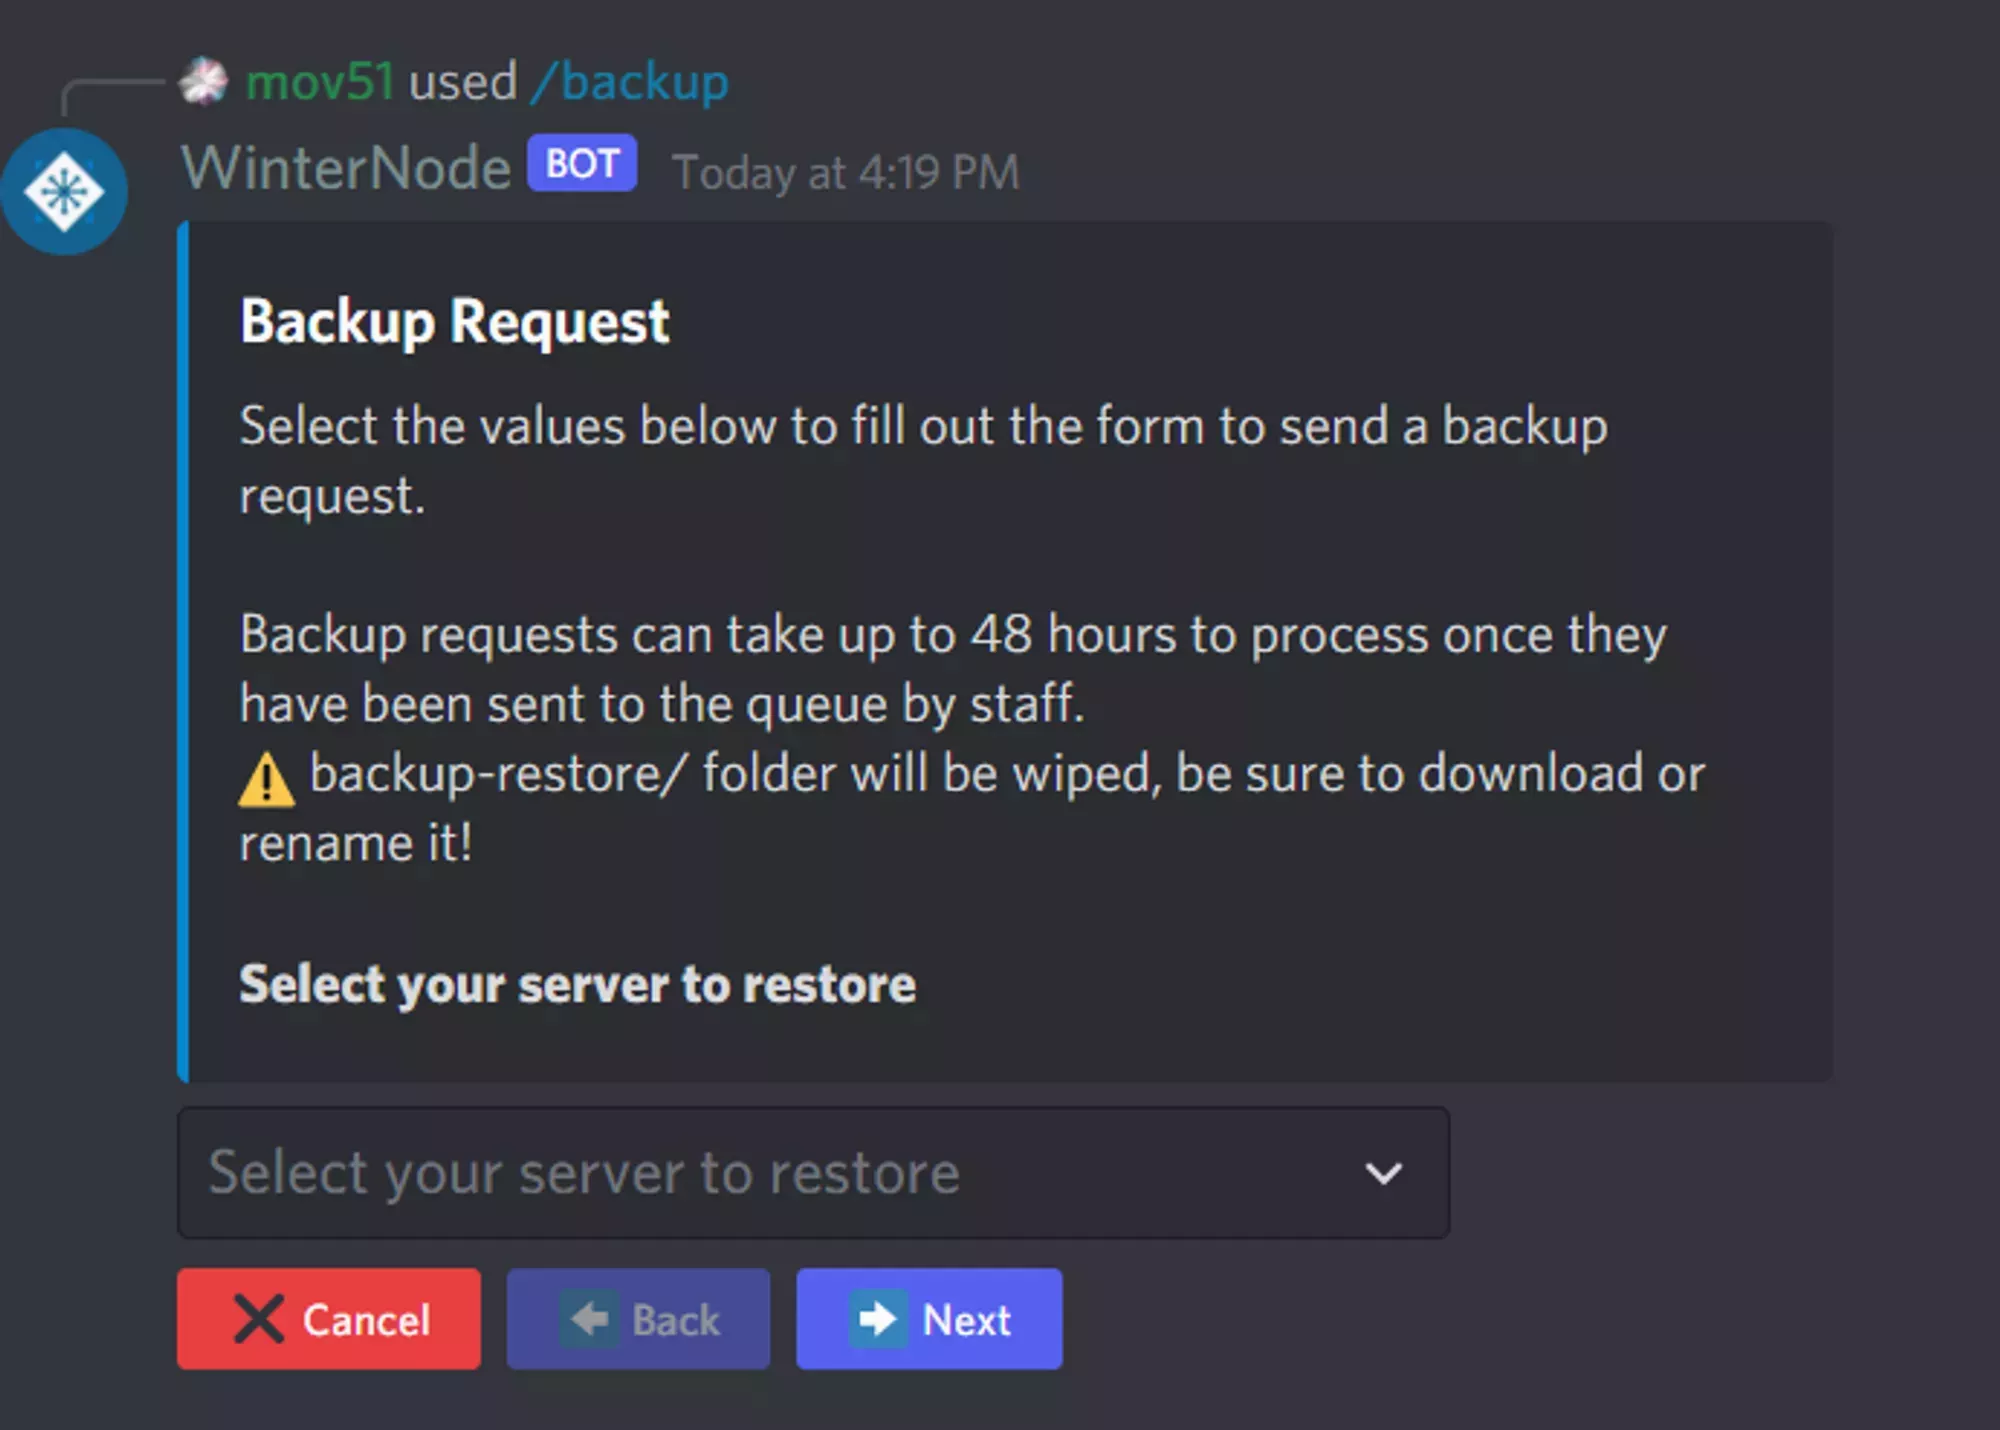
Requesting a Backup
Requesting a backup via Discord
The easiest method to request a backup is to use our Discord Bot in a support ticket on our Discord. Follow the steps below to open a ticket and request your backup.
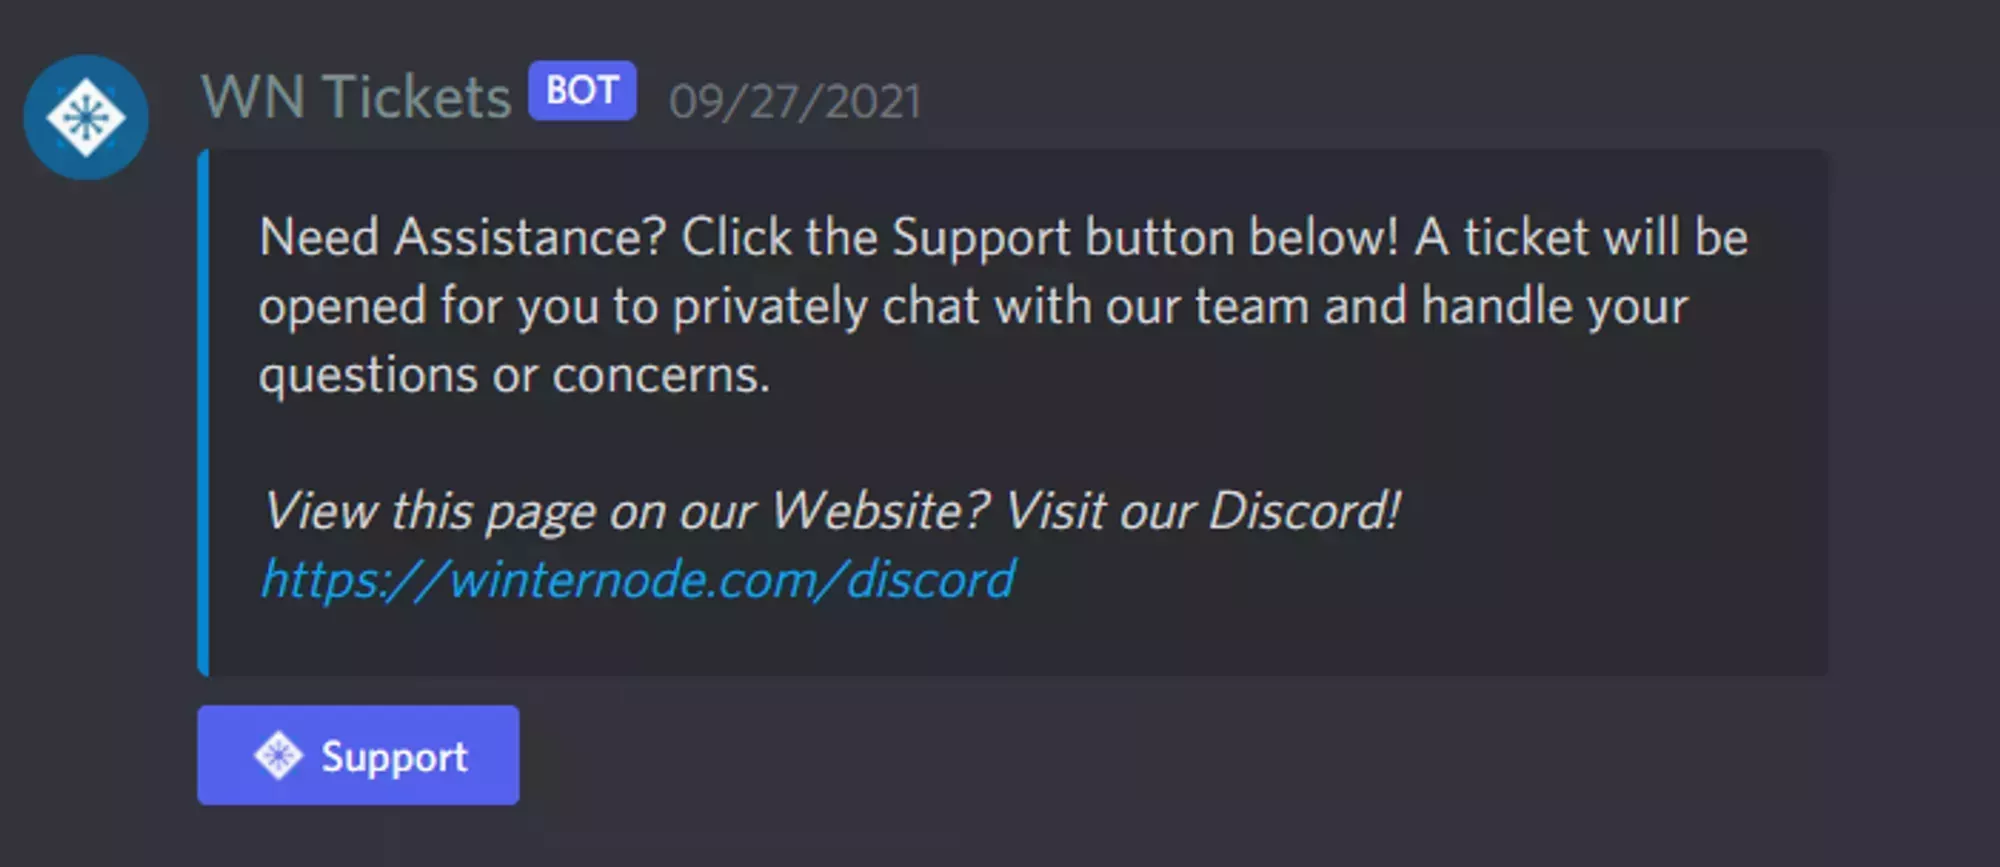
- Open a support ticket by clicking the New Support Ticket button in the support channel. You’ll be mentioned in the new ticket immediately.
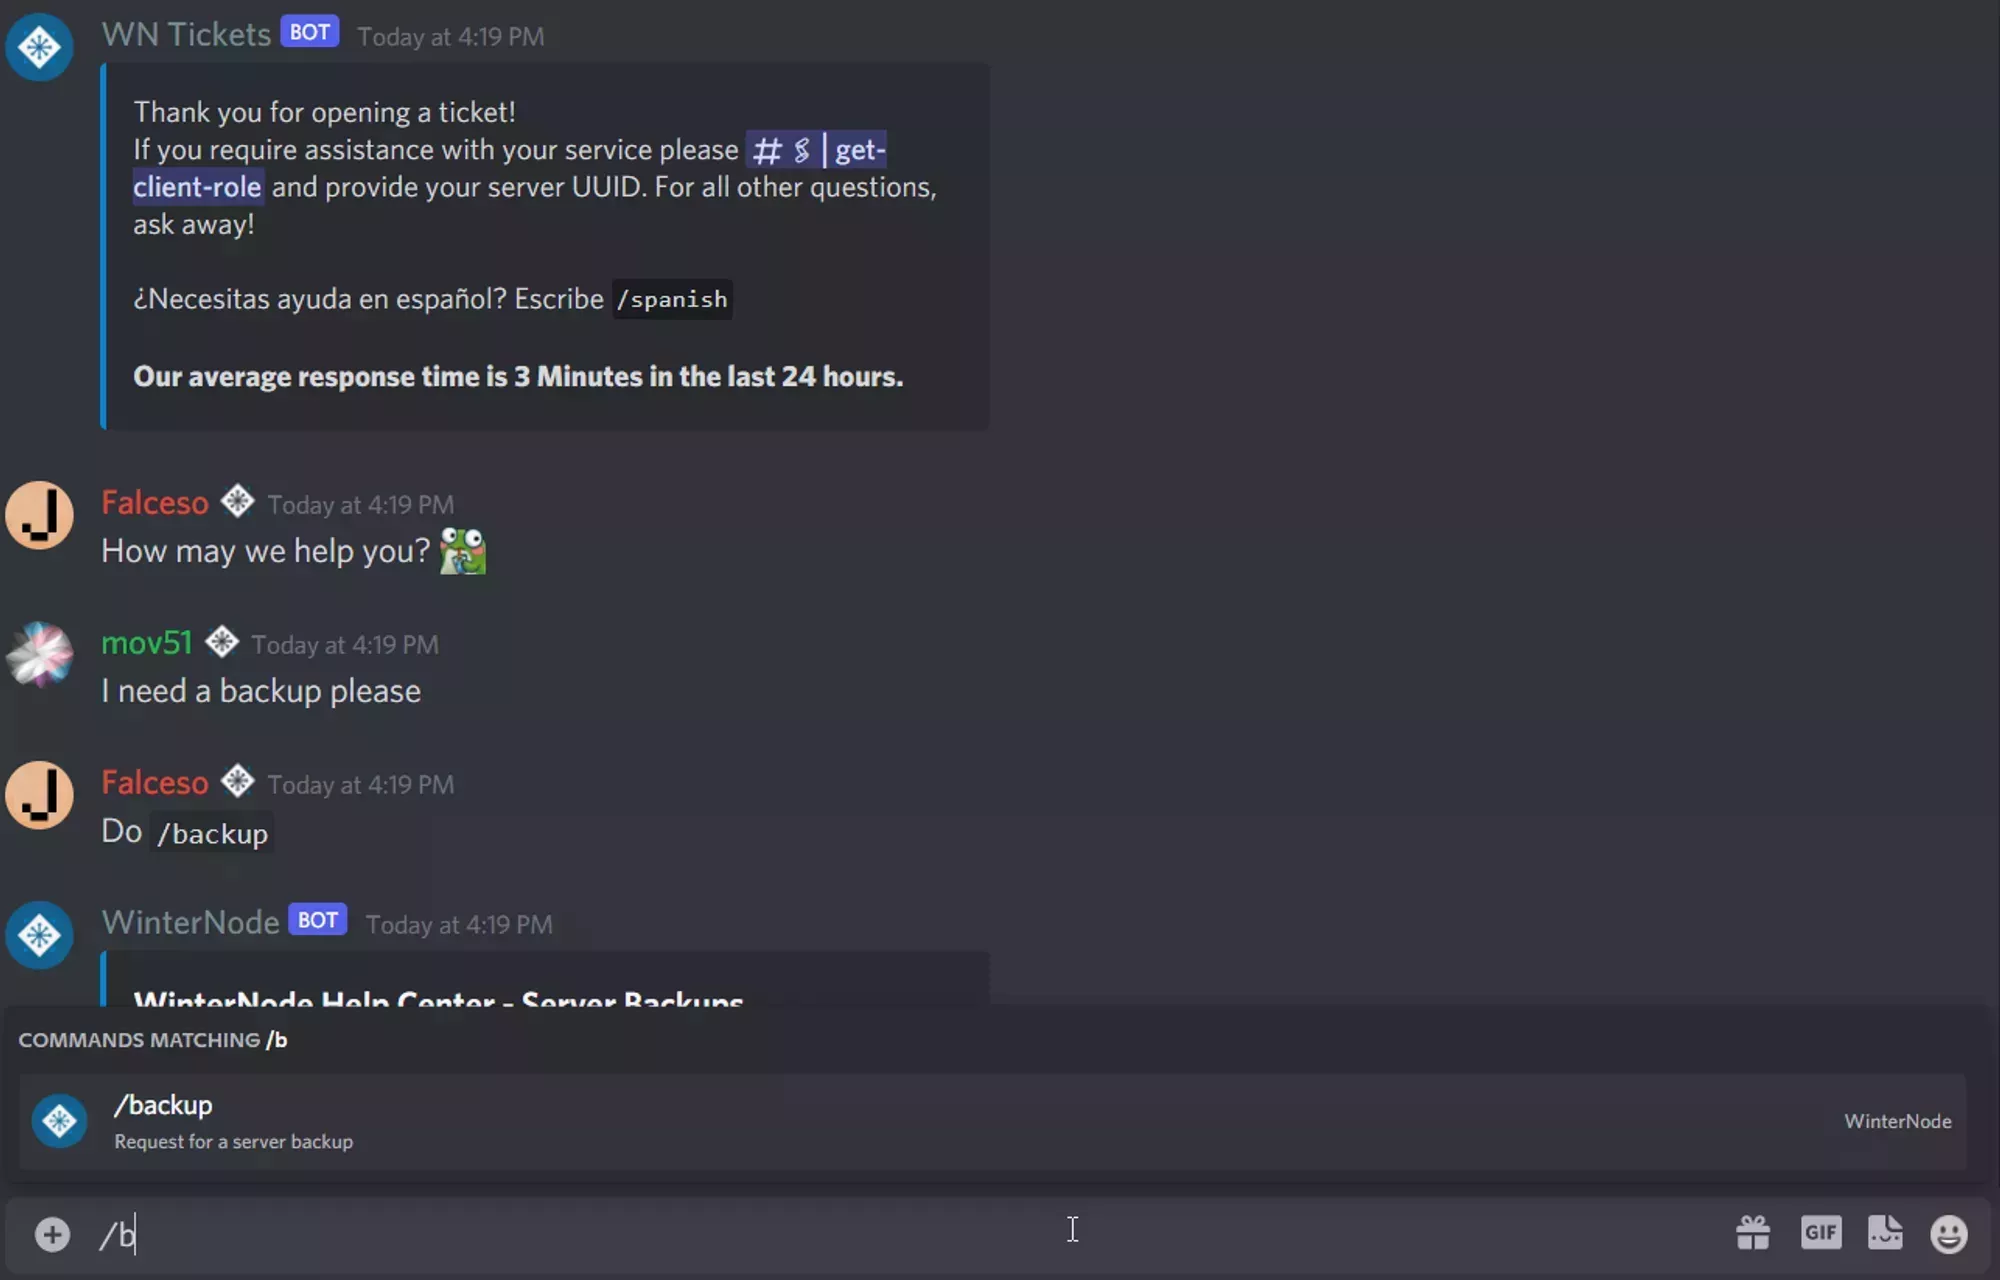
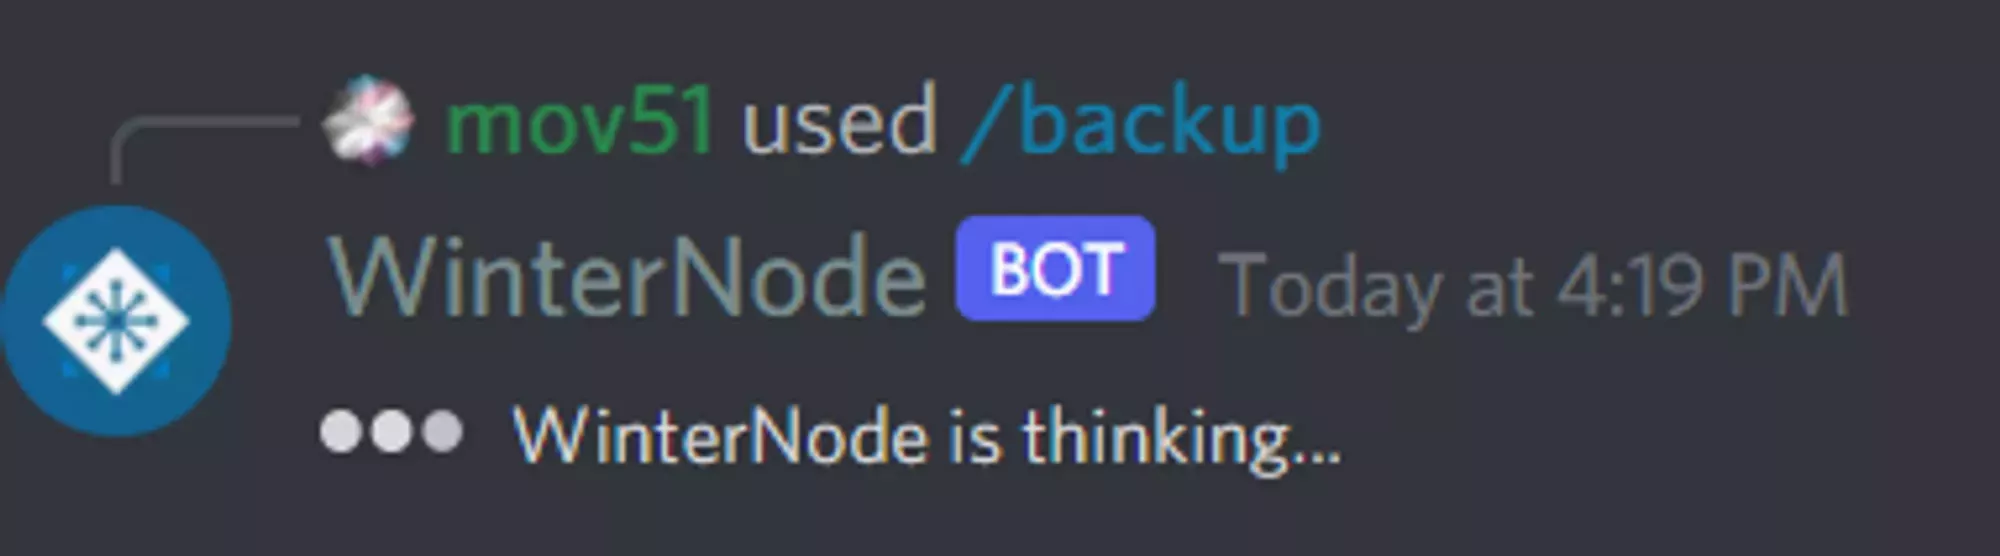
- Type
/request-backup-filesin the ticket message box and select the command when Discord suggests it.
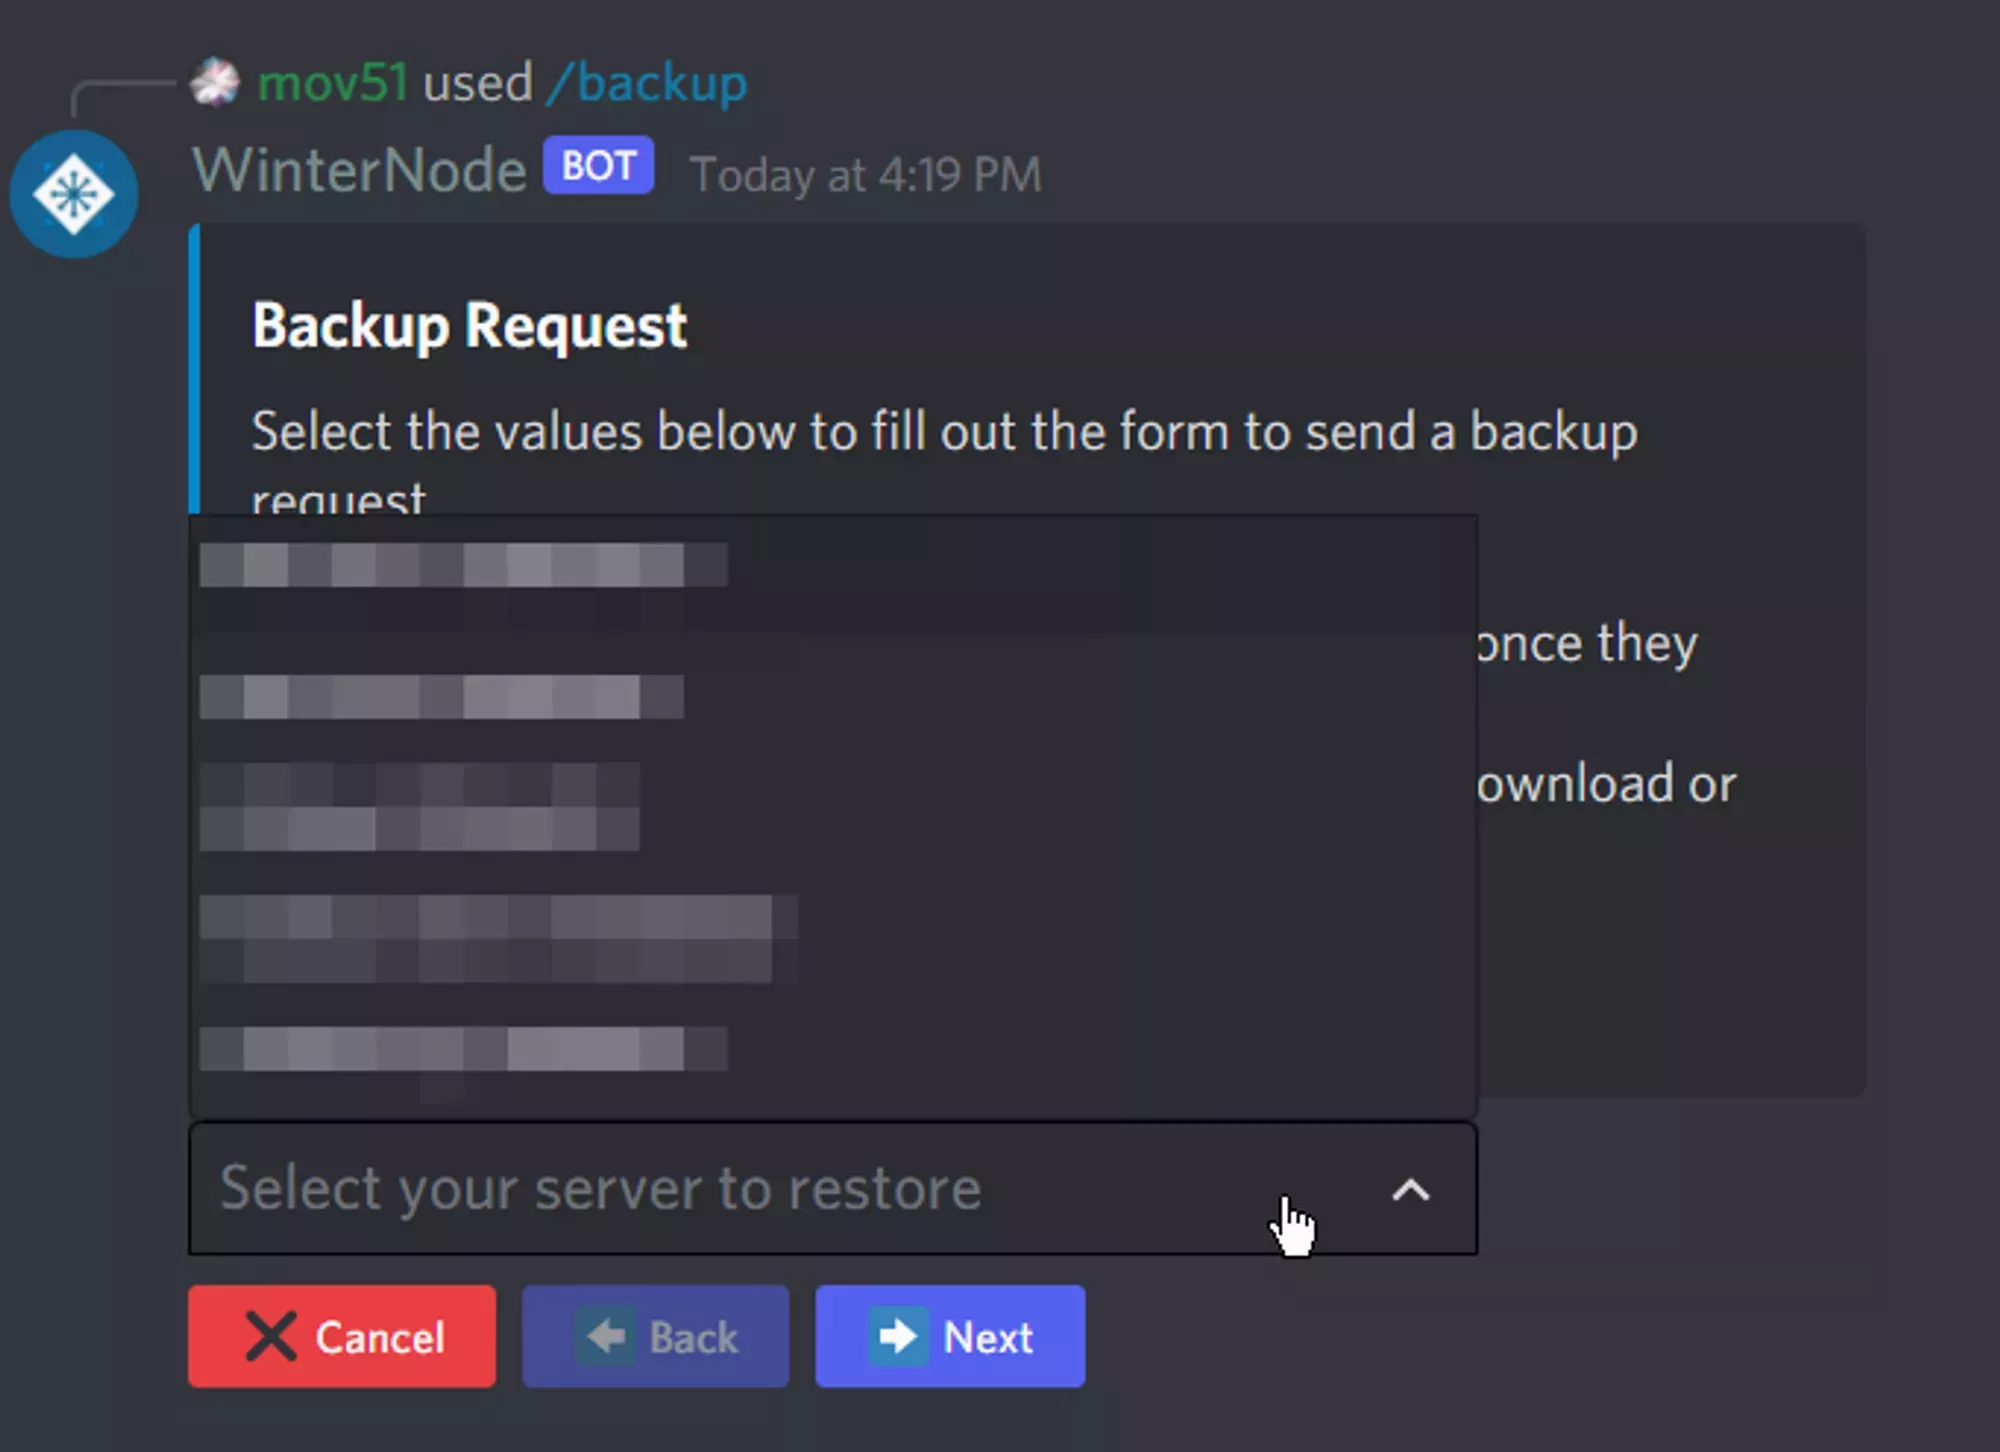
- Select your server from the dropdown on the Step 1 of 3 prompt.
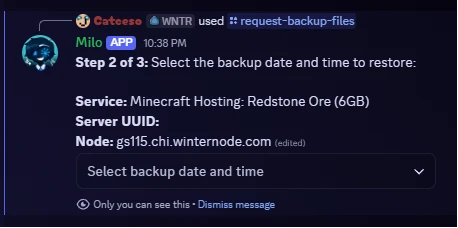
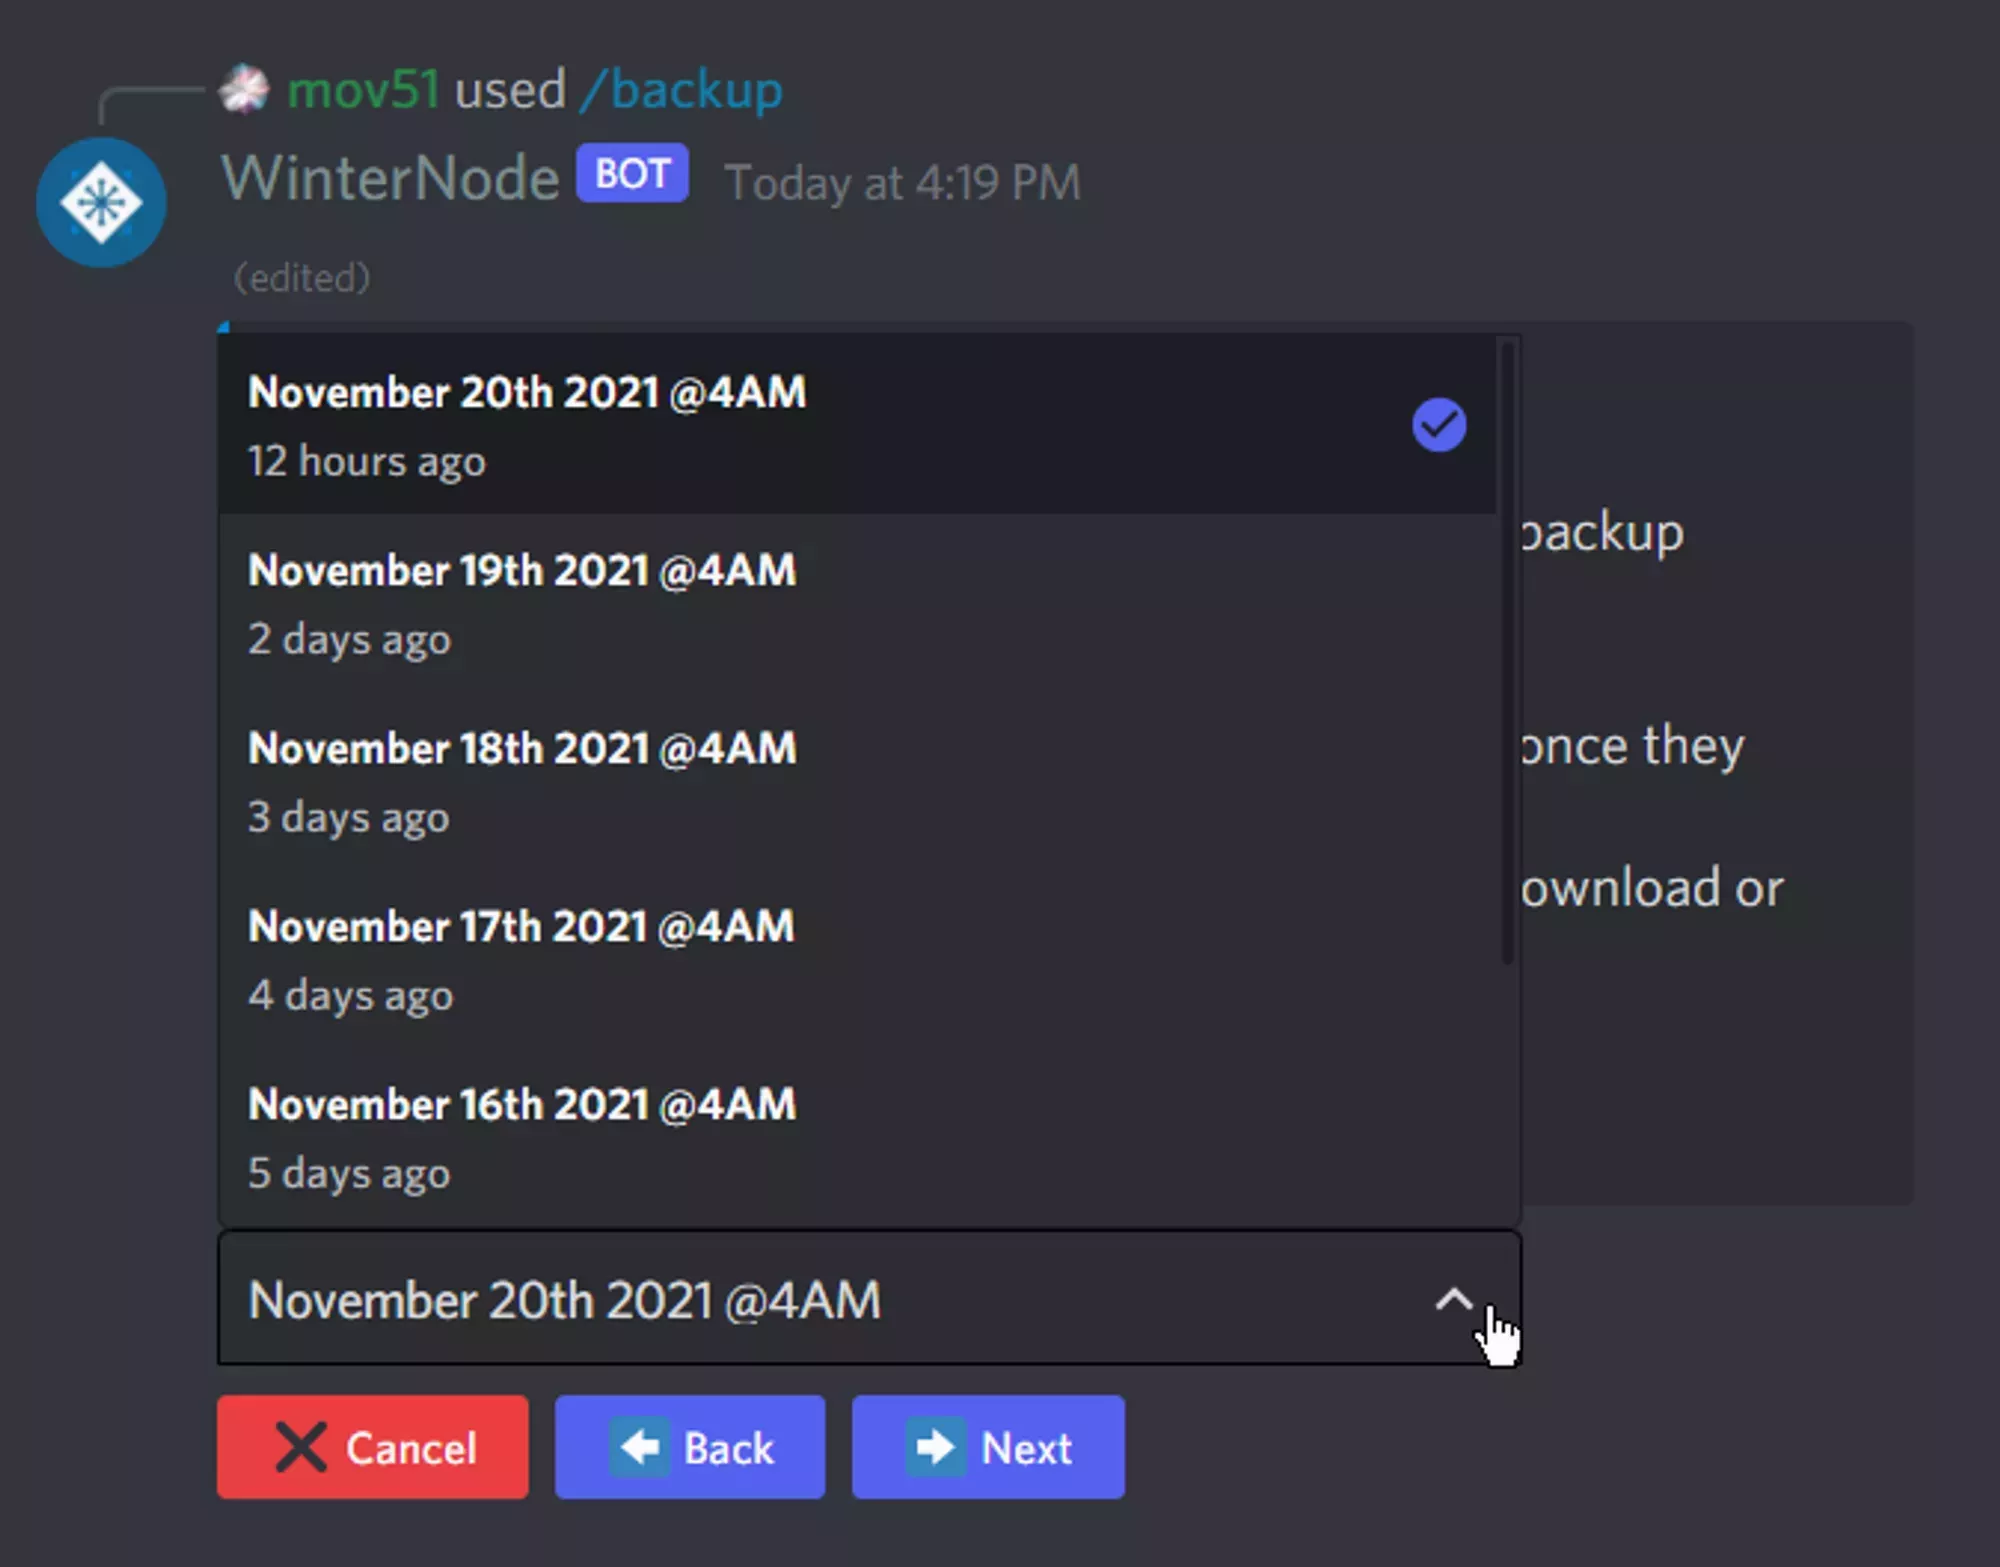
- Select the backup date and time closest to when you last had working data on the Step 2 of 3 prompt. Backups are taken between 2AM-3AM and 2PM-3PM CST. Use this link to convert to your timezone.
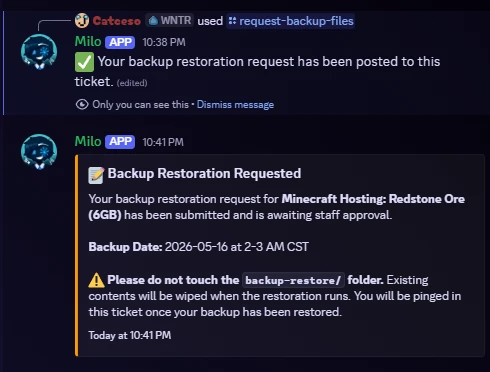
- Review the summary on the Step 3 of 3 prompt and click Confirm Request. A team member will complete the request within 24 hours.
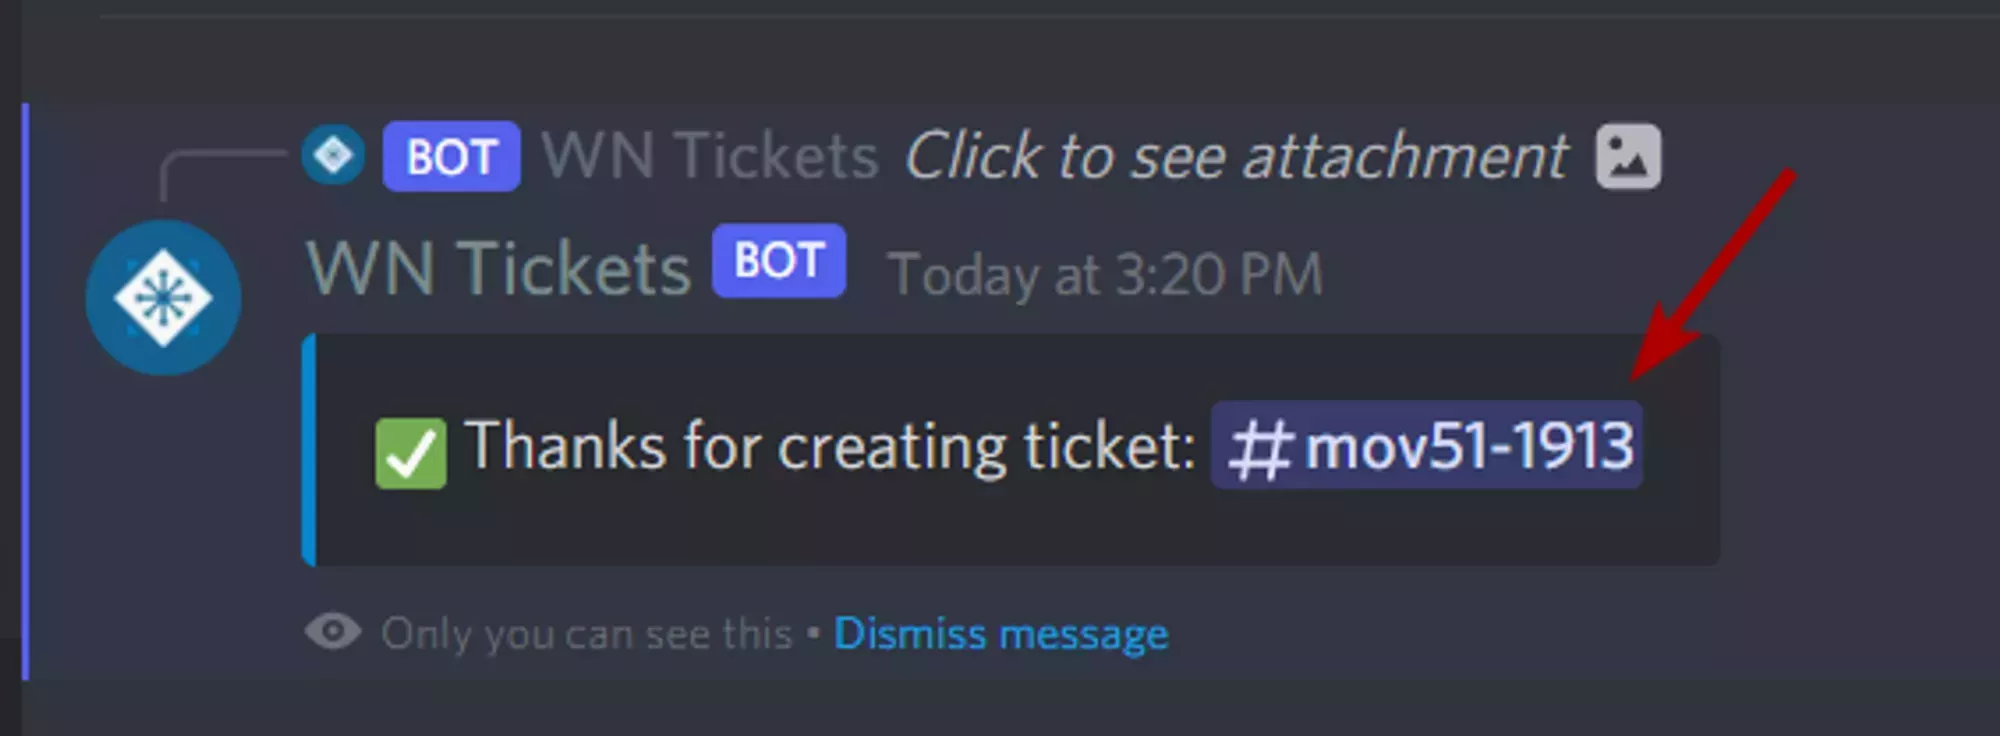
Once submitted, the bot will post a confirmation message in the ticket and ping you when the restore is complete.
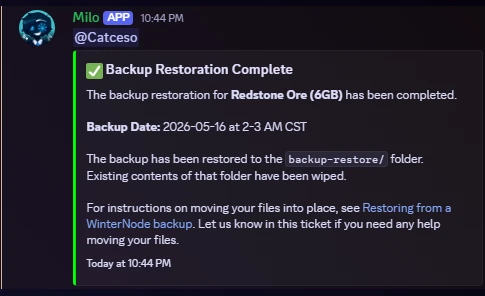
When your restore finishes, the bot will reply in the ticket with a “Backup Restoration Complete” message and a link back to this guide for moving your files into place.
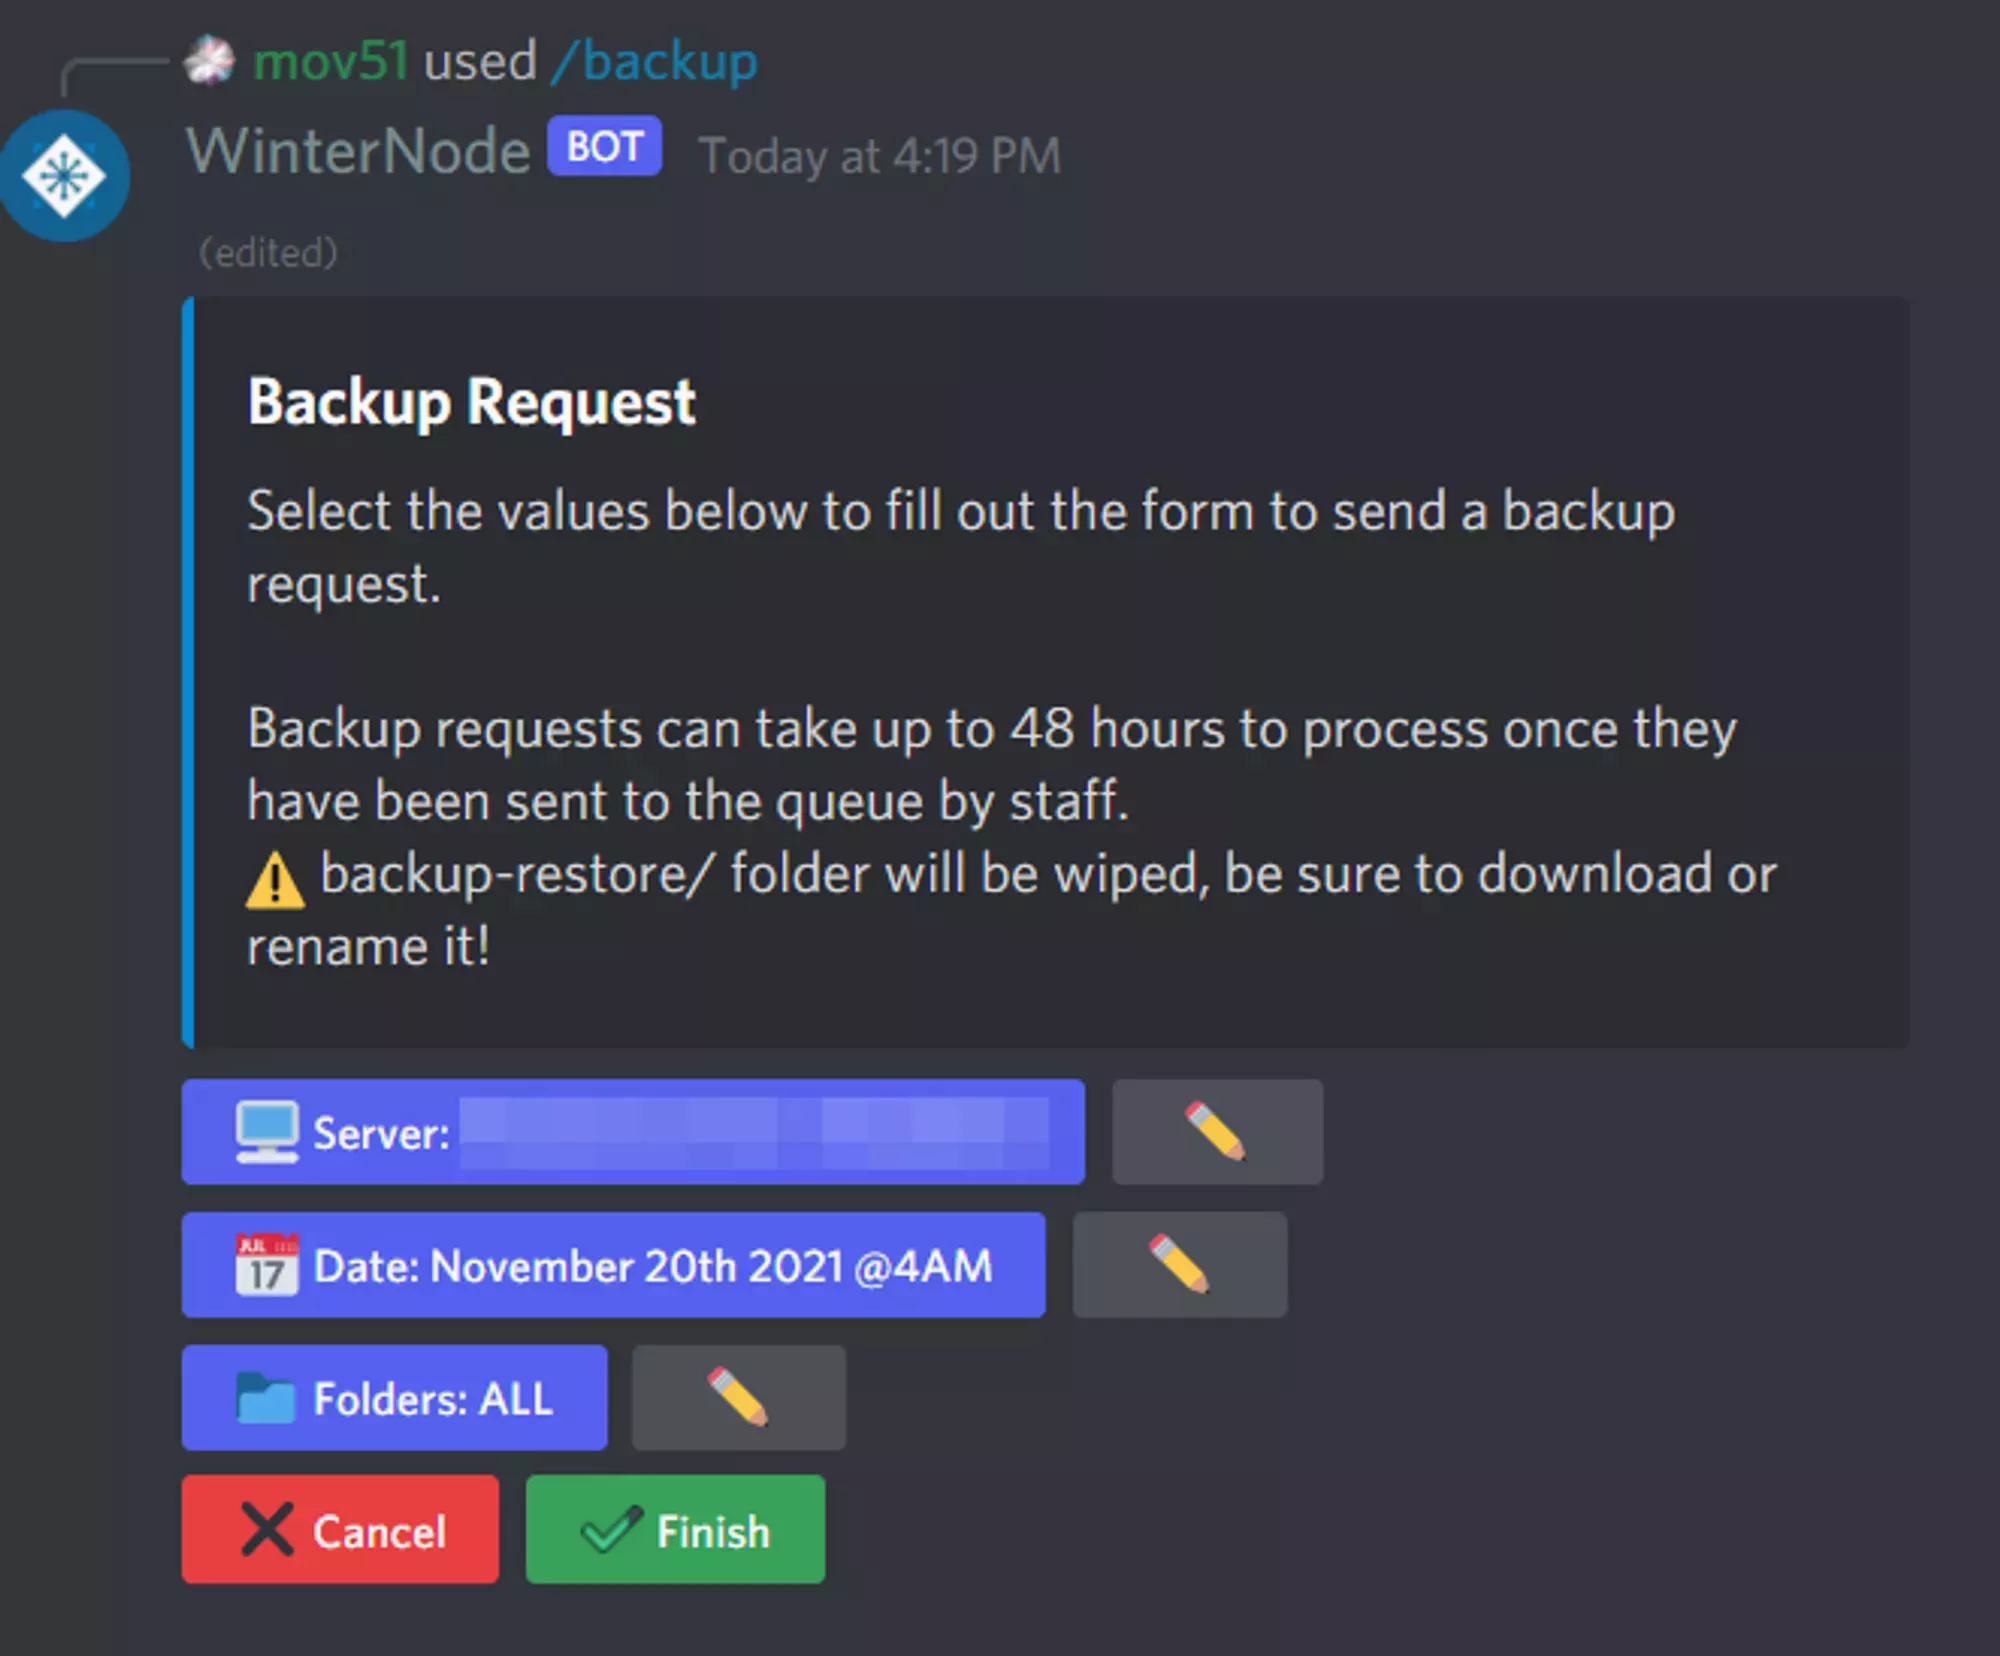
Requesting a backup via Form
You can also request a backup by filling out the form below and sending it either in a Discord or Client Panel ticket. You’ll find explanations of each question below the form.
Node: [Example: CHI1]
- (Found in the Homepage of the Server List)
Server UUID: [Example: 46921aec]
- (Found in the Homepage or Panel URL)
Date: [Example: March 31st 2AM CST]
- (The date (up to 45 days) and approximate time window (2AM-3AM or 2PM-3PM CST) of the backup you want)Node: Your server’s node name (e.g. CHI1), visible in the server list.

UUID: Your server’s unique identifier, visible in the server list or in the panel URL.

Date: The date and approximate time window (2AM-3AM or 2PM-3PM CST) of the backup most likely to contain the data you need. Use this link to convert CST to your timezone.
Locating your Backup Files
After your backup request has been handled by our team you’ll be able to access them in the file manager under the /backup-restore directory. There you’ll find the backed up version of your server files. These will have their modification timestamps preserved by the backup and consist of the entirety of your server at the time of the backup you requested.
Moving your Files to where they should be
After you’ve received confirmation that your backup has been restored and you’ve located them, you’ll need to move the restored files to their correct location. But before you do that you should absolutely make another backup of the files currently on your server that you’re going to replace.
As an example, if you’re restoring a backup of your world folder you should backup the “broken” world folder by creating a compressed version before moving on. This ensures that you don’t lose anything that wasn’t properly saved in the backup. While this may not make much sense, I promise it’s worth the extra bit of effort for the odd chance you make a mistake or something goes wrong. After you’ve made sure that everything is correct, you can delete the temporary backup of your “broken” files.
Removing the old Files
Now that you’ve taken a backup you can remove the files you need to replace by selecting the in the File Manager and clicking delete. You can do this by either selecting them in bulk using the check boxes on the left and then using the Mass Actions option on the sidebar or by clicking the 3 dots on the right side of the item and selecting delete there. Just be very careful what you select for deletion as this can’t be reversed.
Moving the Restored Files
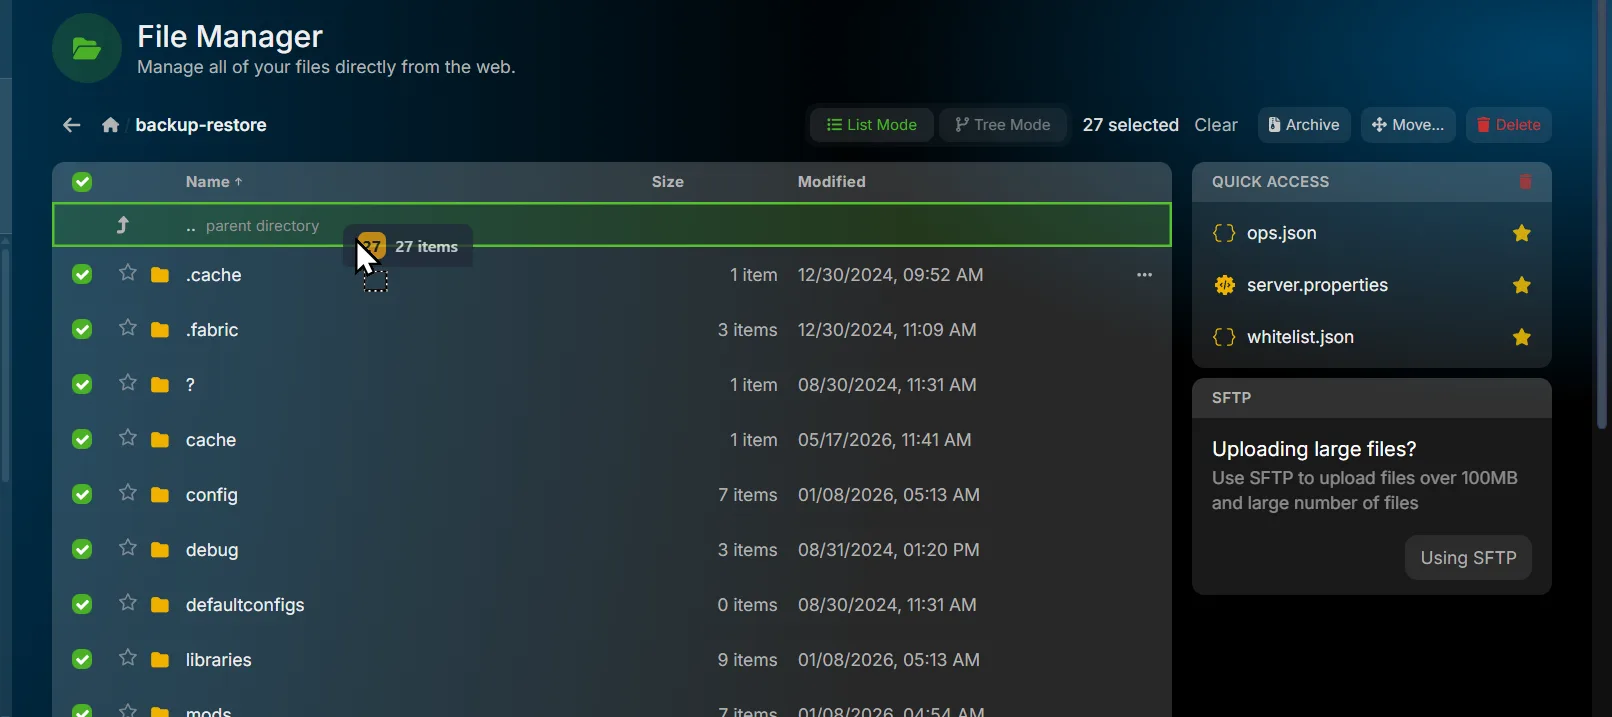
Now that the old “broken” files are removed from your live files, move the restored files out of /backup-restore and into your server root. You no longer need to archive them first. Select everything and move it up one level in a single action.
- In the File Manager, open the
/backup-restorefolder. - Click the check box at the top of the Name column to select every file and folder at once.
- Drag the selection onto the .. parent directory row at the top of the list. This moves everything up one level into your server root.
To move a single file or folder instead, open its context menu (the … button on the right) and select Rename/Move, then type the new path.
Related Articles
- WinterNode Backup System: how automatic backups work, what’s included/excluded
- Manual Backup: backing up via the File Manager
- Vintage Story: Restoring a Backup: game-specific self-service world restore
- DriveBackupV2: automated external backups for Spigot servers
- Backup Script Example: API-based backup automation
Frequently Asked Questions
Up to 24 hours, though often faster. For quicker recovery, keep your own external backups using DriveBackupV2 or a similar tool.
Restored files are placed in the /backup-restore directory in your server's file manager.
No. MySQL backups are not currently retained. Use an external backup plugin such as DriveBackupV2 for database backups.
Files over 5GB are excluded. This commonly affects large SQLite databases from plugins like CoreProtect and BlueMap.