


Once you’ve logged into the Game Control Panel and opened your server, you’ll land on the console page. This is where you’ll spend most of your time.
Server Controls
The four control buttons are located below the console window.
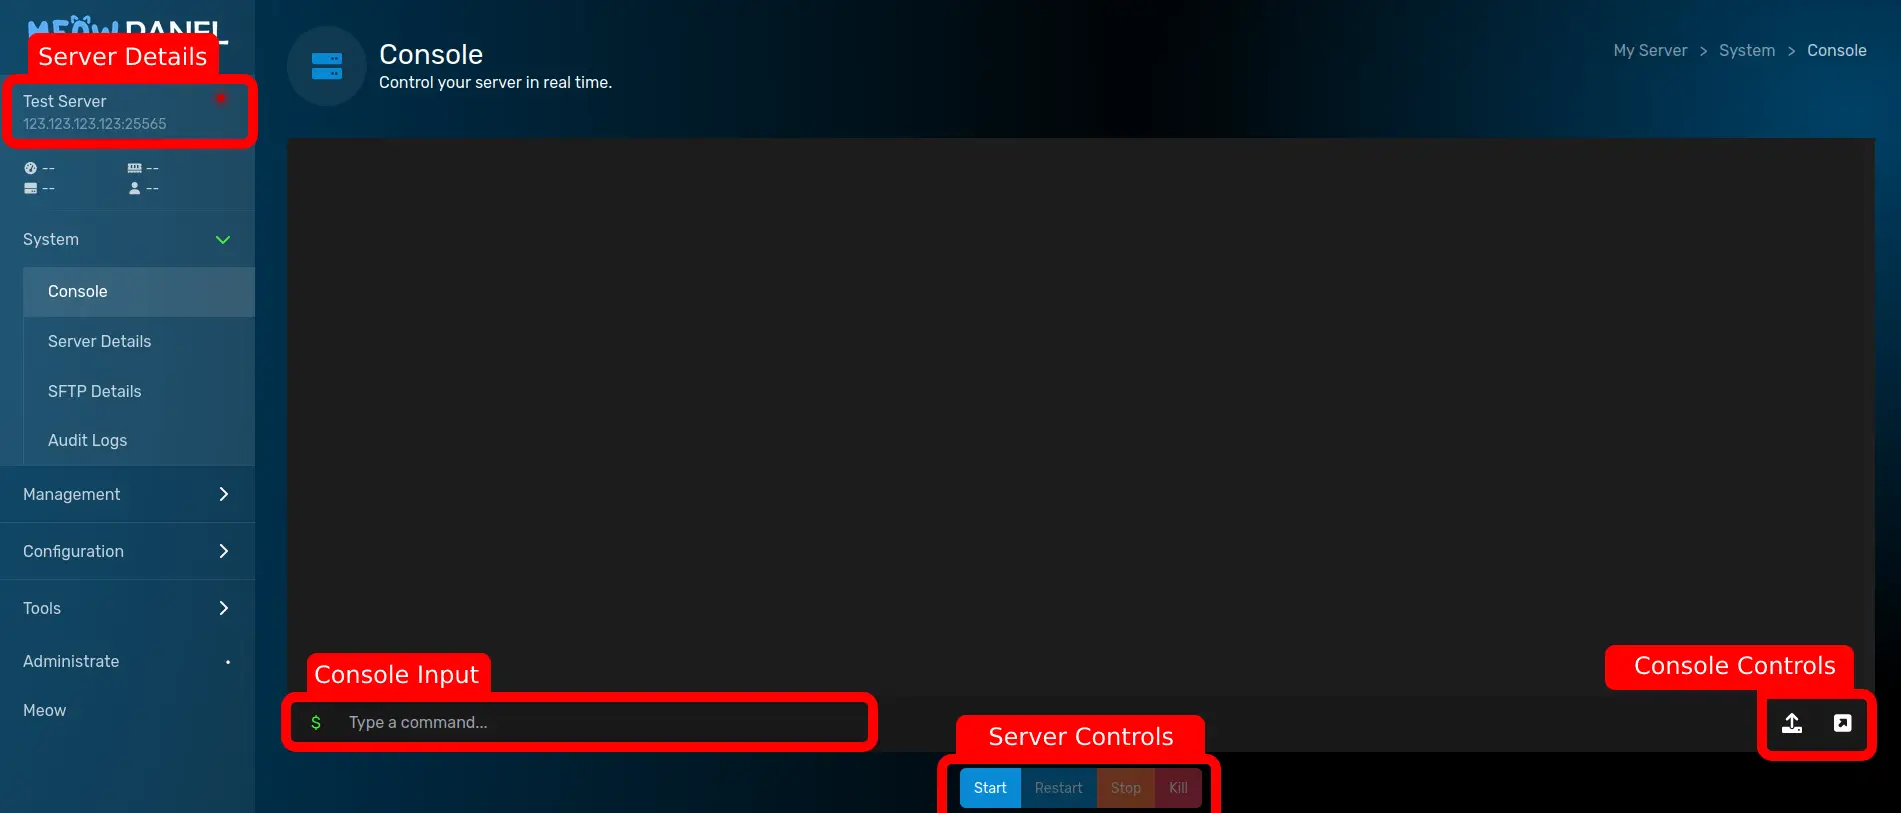
Startboots the server upRestartstops the server gracefully, then starts it againStoptells the server to save and shut downKillforcibly terminates the server process
Stop gives the server time to save data before shutting down. Kill cuts power immediately, like pulling the plug.
Console
The console shows your server’s live output. You can send commands using the input field at the bottom.
Two buttons on the right side of the console provide shortcuts:
- Upload Logs uploads your current log to our log server and gives you a shareable link. This is useful when working with our support team or troubleshooting with others.
- Open console popup opens the console in a dedicated browser window.
Usage Graphs
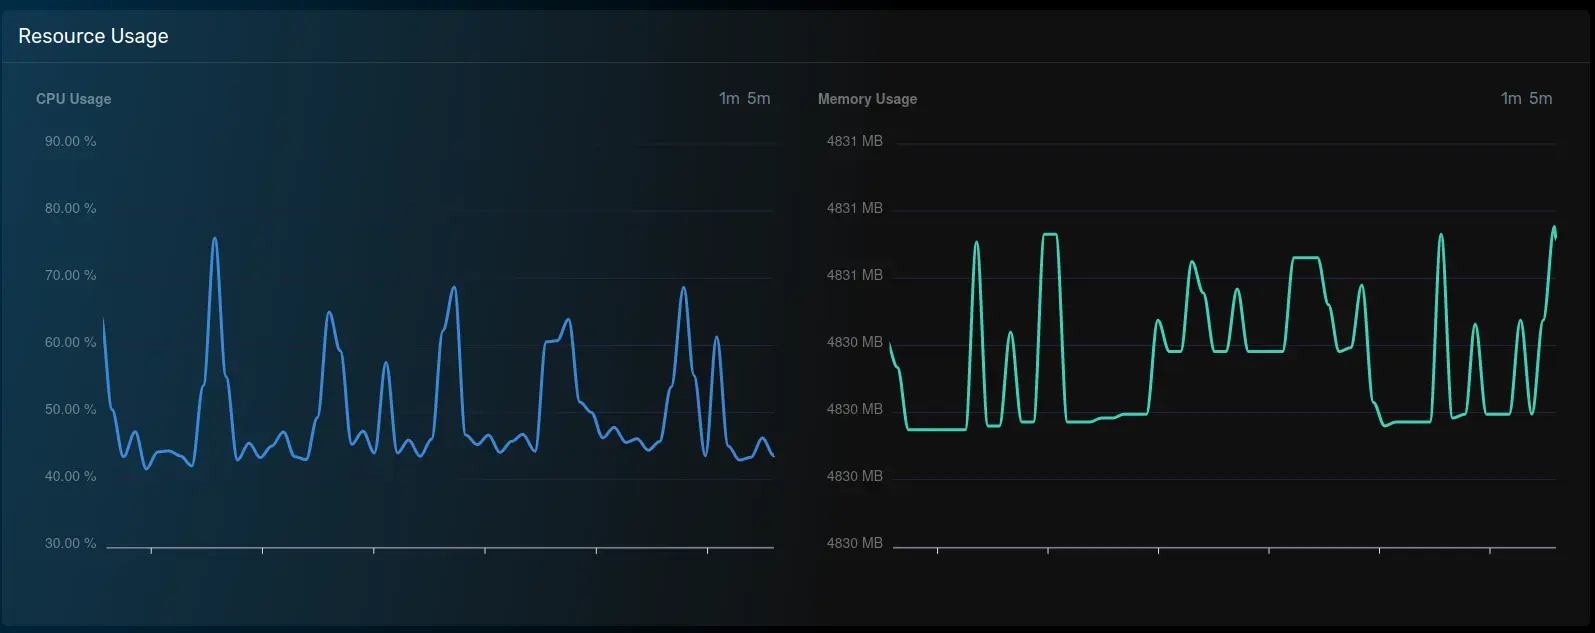
Below the console, the CPU and Memory graphs show live resource usage. These are useful for spotting performance issues. If your memory graph stays pinned near the maximum, your server may need more RAM or some optimization. See Out of Memory (OOM) Crashes for troubleshooting.
First Run
The first time you start a new server, a few things happen before it’s ready for players.
Most games install their server files automatically on the first start. This can take a few minutes depending on the game. You’ll see the progress in the console. Don’t stop or kill the server during installation.
Server Options
Server Options are configurable startup settings that control how your server launches. Things like the server version, startup flags, and game specific parameters live here.
You can find them under Server Options in the sidebar. Each game has different options available. For details on what each option does, check the Startup Parameters article in your game’s Help Center section.