


WinterNode takes automatic backups every 12 hours, but we always recommend taking your own backups before performing any potentially destructive work on your server. Sometimes making use of tools like DriveBackupV2 or a Backup Script is either unwieldy or impossible, but you can still make a manual backup using the archive function in the File Manager. We’ll be going over how to do exactly that here.
Navigating to your Files
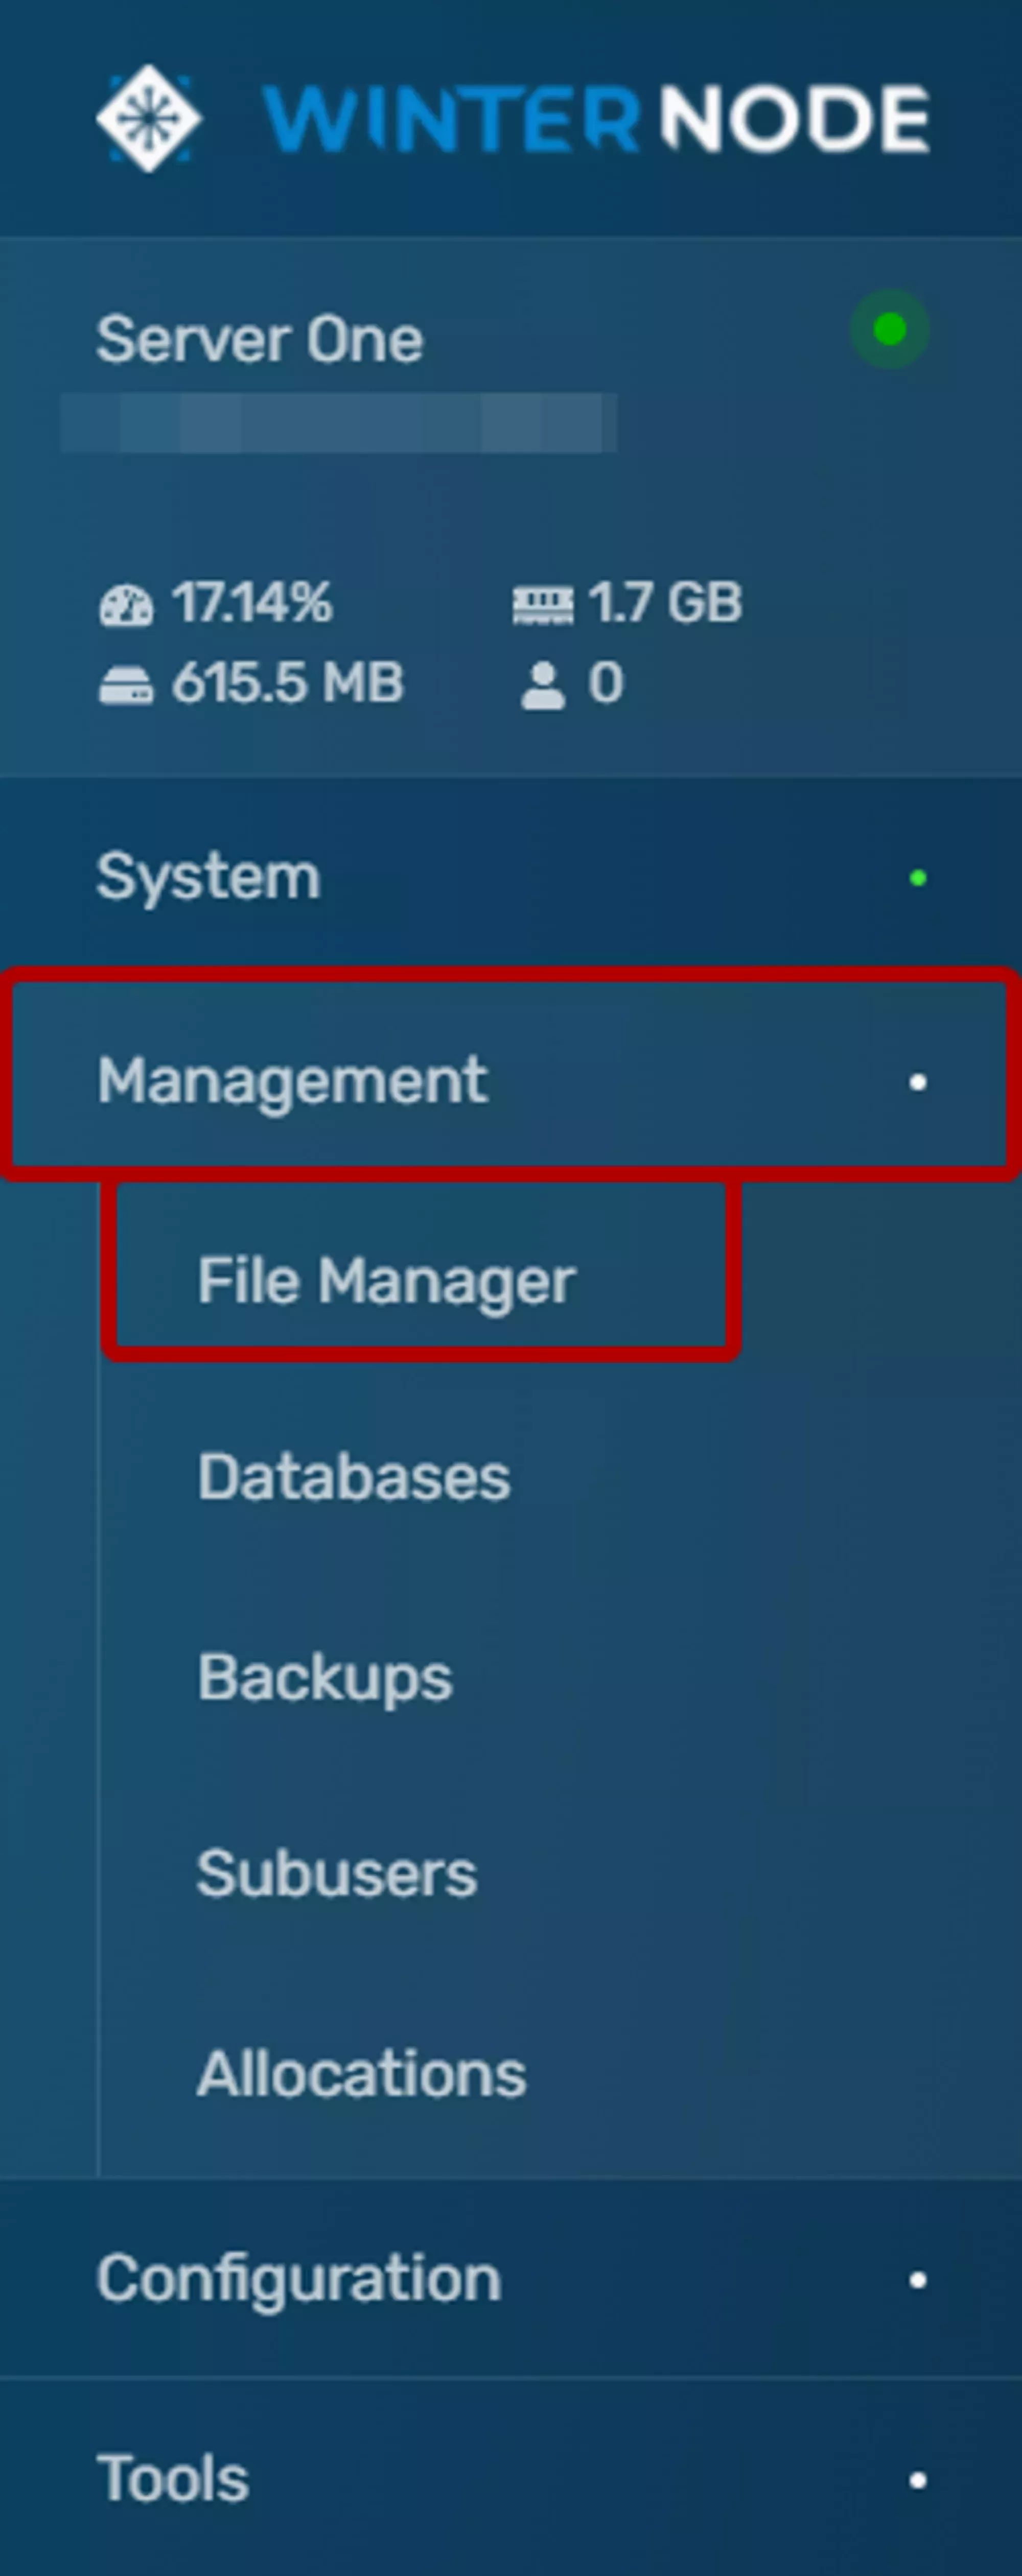
The File Manager is at the top level of the sidebar, between Console and Server Options, as seen in the image to the right. Once there you’ll be taken to your server root and should see the all of the files currently located on your server.
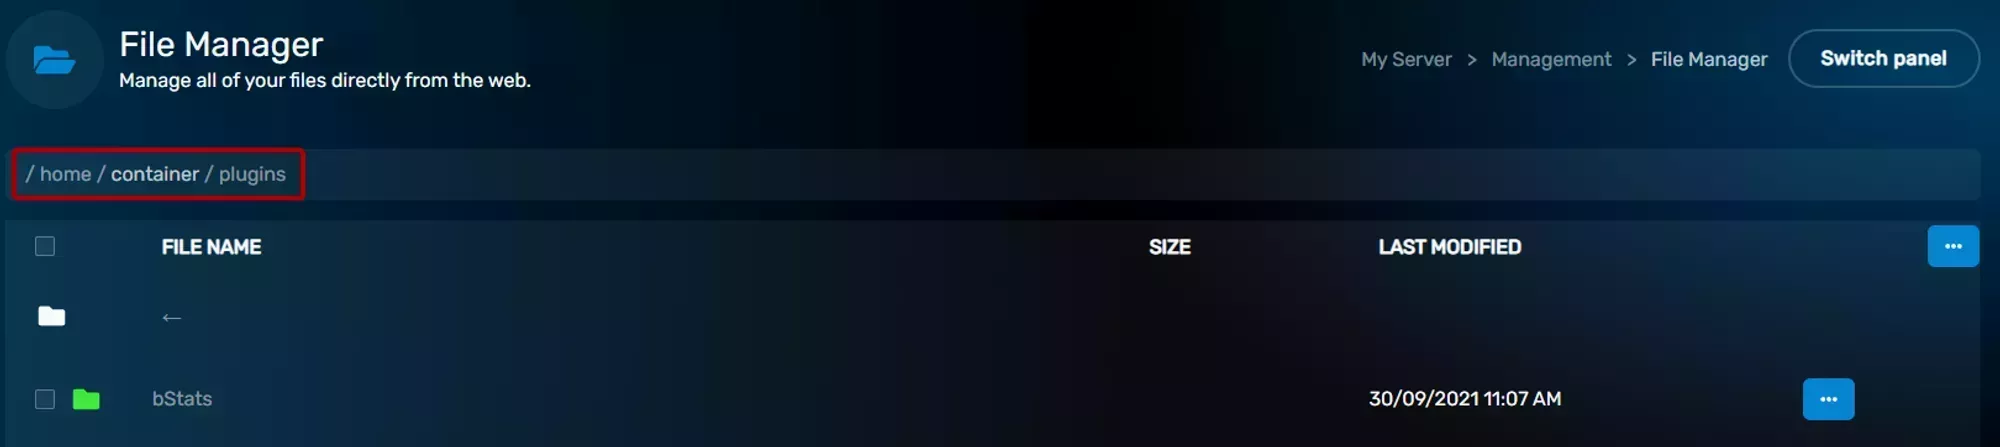
The File Manager displays the current file content of your server and allows you to navigate through the directories it contains. You can enter a Directory by clicking on its name in the File Table located in the center of your screen. When you enter a Directory it will be added to the File Path at the top of the page as seen in the image to the right.
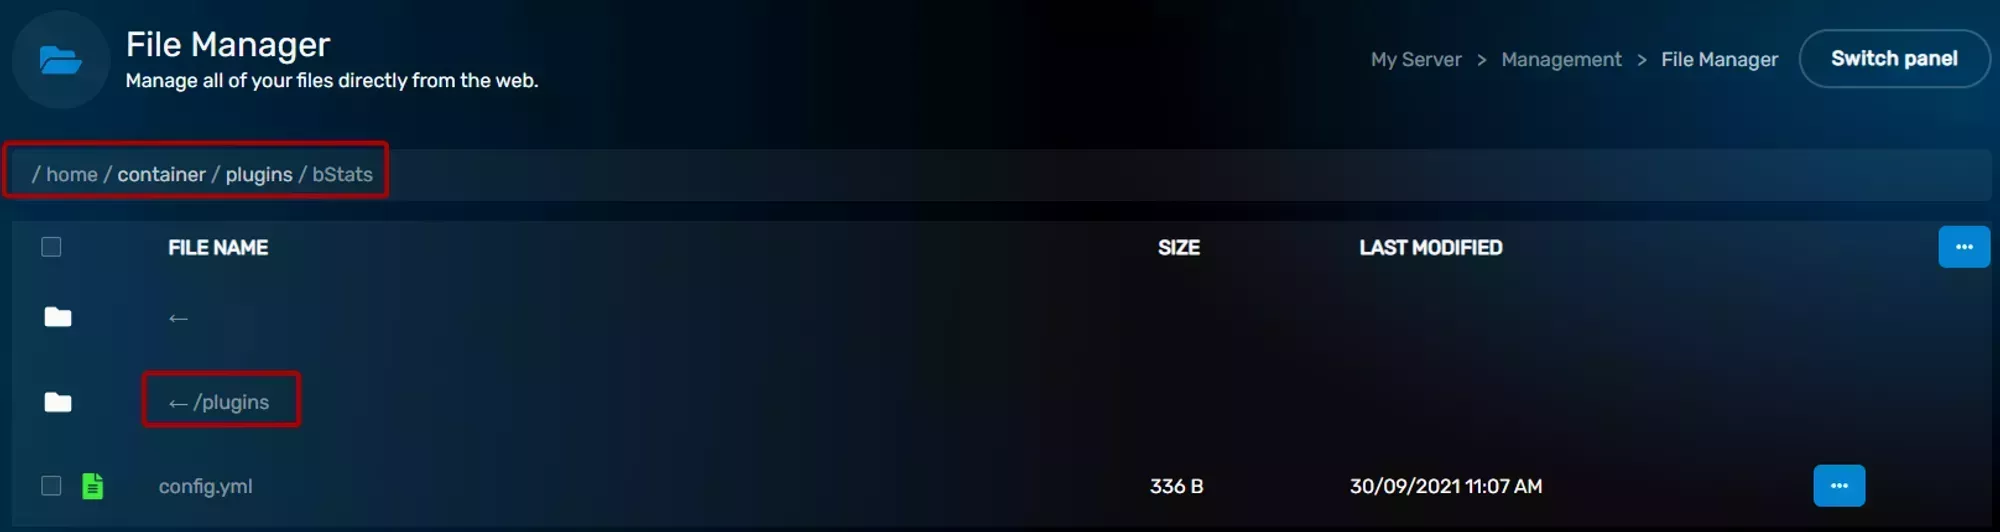
If you need to navigate back to the Directory above your current one, select the .. parent directory row at the top of the file list.
If you need to navigate back to the Server Root at any time you can click the home icon at the top left of the File Manager. Your Server Root will always be /home/container so you can double check your location using the breadcrumb path at the top of the screen.
Creating an Archive
To back up your files you’ll compress them into a single archive using the File Manager. Select the files and folders you want to keep. For a full backup, tick the check box at the top of the Name column to grab everything in your server root, then click Archive in the toolbar.
For the full walkthrough, including how to archive a single item straight from its ... menu, see Compressing files and folders in the File Manager guide.
Once archiving finishes you’ll have a new archive file named with the date and time it was created, for example archive-{date}.tar.gz, ready to store.
Backing up your File
As a final step you’ll want to backup your archive in a safe location. This can be one of a few different ways depending on why you’re creating the backup, but it’s important to consider them.
Most of the time you’ll want to download the backup to your computer Using SFTP and store it somewhere safe there when doing anything destructing with your server. Once you have it downloaded you can upload it to other backup services if you need to keep it more long term.
Alternatively you can move the archive to a separate folder on your server using the move option when selecting a file, but if you accidentally delete the file or folder then you’ll loose the backup and everything in it.
If it is a very temporary backup, you can leave the archive in the place that it was created and when/if you need to restore to it then it will be as simple as decompressing it in place.